Flapjack Lakes: Hidden Gem in Olympic National Park
If you are looking for a lesser-known trail in Olympic National Park, Flapjack Lakes & Gladys Divide might be a great alternative to the more popular destinations within the park. Like most of the other backpacking destinations in Olympic, you’re required to obtain a permit to camp overnight. Luckily, the overnight permits for Flapjack Lakes have less demand than the High Divide / 7 Lakes Basin or Enchanted Valley. Weekends are always difficult to obtain, but getting a permit during the weekday shouldn’t be a problem. The best time to complete this trail is Mid May – Late October. You can view the detailed GPS route and elevation profile here and my AllTrails Map here.
Getting to the Trailhead
The trail for Flapjack Lakes begins at the Staircase Trailhead located near Hoodsport, WA. You’ll need a National Parks Pass for entry and also display it in your car. There should be little issue getting to the trailhead, even during winter. The section along Lake Cushman is filled with quite a few potholes so just be careful on the drive in!
Today
53°F
Partly Sunny
Tonight
43°F
Mostly Cloudy
Thu
60°F
Mostly Sunny
Today
53°F
Partly Sunny
Tonight
43°F
Mostly Cloudy
Thu
60°F
Mostly Sunny
Thu Night
47°F
Mostly Clear
Fri
66°F
Sunny
Fri Night
50°F
Mostly Clear
Booking a Permit for Flapjack Lakes

Similar hikes worth exploring.
To book your wilderness permit for Flapjack Lakes, you will need to go to recreation.gov. Check the availability and ensure you select “Staircase” as your starting location and your preferred dates.
You will need to choose the campsites for each night. Your options should be Slide Camp, Spike Camp, and Flapjack Lakes for this specific trail. I spent the night at Flapjack Lakes, bypassing Slide and Spike Camps. These options would be great if you are getting a late start and just want to be on the trail first thing in the morning.
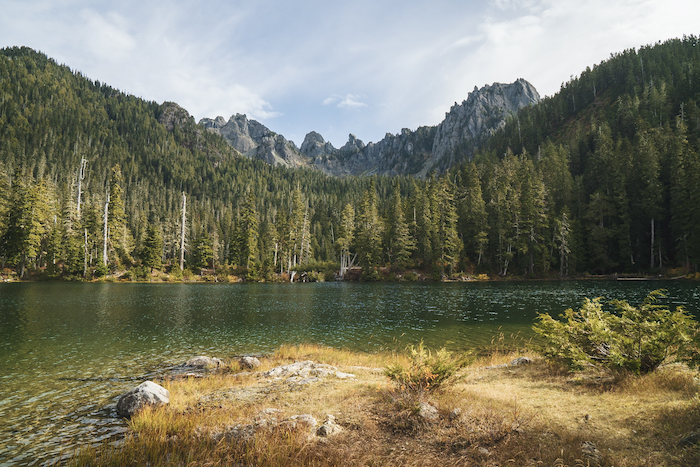
The Trail to Flapjack Lakes
The trail begins at the Staircase Ranger Station and runs along the North Fork Skokomish River. I really enjoyed the first mile of the trail. It traverses multiple small streams, runs under towering Sitka spruce, bigleaf maples draped in moss, and western hemlock trees. At approximately one mile in, you’ll pass the rapids suspension bridge which is worth the short detour.
Continuing further on the trail, you will start to parallel the North Fork Skokomish River, very slowly gaining elevation along a ridgeline overlooking the river. Periodically, views of the river reveal themselves while emerging from thickets of hemlock.
You won’t really notice the elevation gain until around 2.5 miles in. At this point, you’ll gently gain 500 feet of elevation for the next 1.5 miles before the trail splits off to Flapjack Lakes. If you are planning a late start for your hike, Spike Camp, which is just beyond the trail junction, would be the best campsite to reserve for your first night.
At mile 4, immediately after turning right off the main trail to head up towards Flapjack Lakes, the elevation gain increases quickly with multiple switchbacks. Over the course of these switchbacks, the views of the distant valley start to reveal themselves.
Following the switchbacks, you steadily climb higher along a ridgeline with numerous views to your left. I traversed this section during sunset and really enjoyed the sun casting its last rays of light on the mountains as the valleys below descended into darkness. With the darkness quickly approaching, I put on my headlamp and crossed a roaring stream via a small bridge. Until this point, I would classify the hike as fairly easy, but immediately after crossing the stream, the challenging part begins.
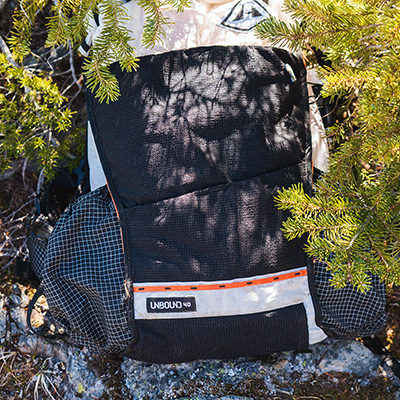
Kurt's Backpacking Gear
View My Full Gear List
At 5.5 miles in, you have hiked 1,250 feet of elevation thus far. From this point on, you will need to gain another 2,000 feet of elevation over the span of 2.5 miles to reach Flapjack Lakes. I powered through this section of the trail during the night with only a few breaks along the way. There are a few exposed sections of the trail – the main one being a washout of the trail. Nothing too serious. One mile before the lake is where you’ll encounter Donahue Creek. You will pass this on numerous occasions. In the darkness, I was only able to hear the roaring creek, but on my way back, I really enjoyed the beauty of the creek rushing down the mountainside.
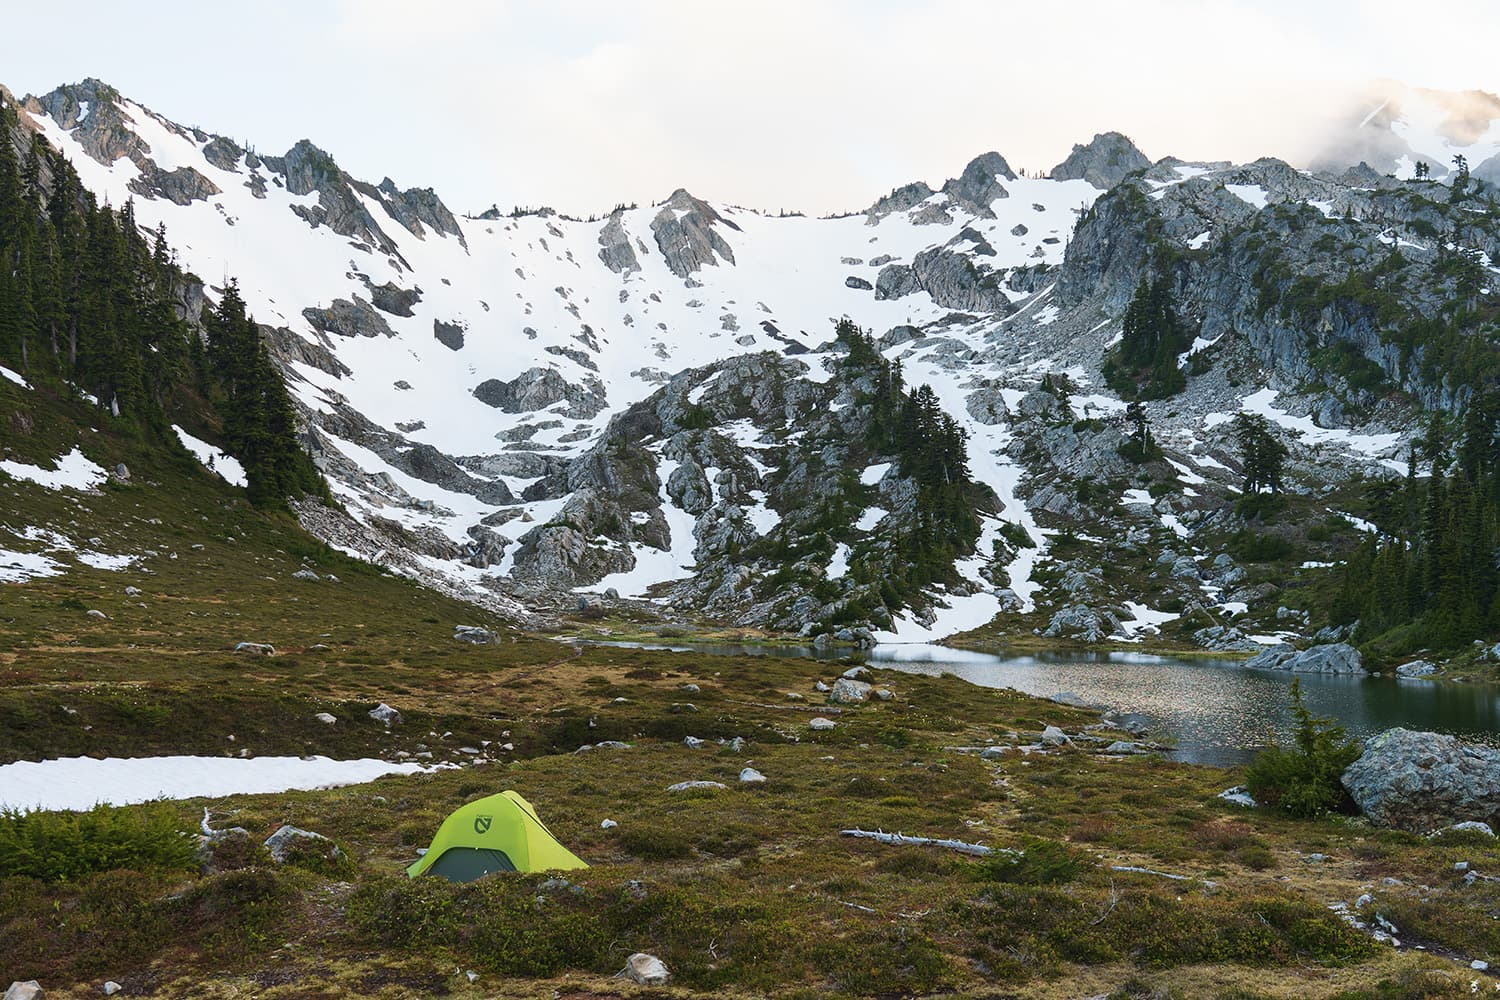
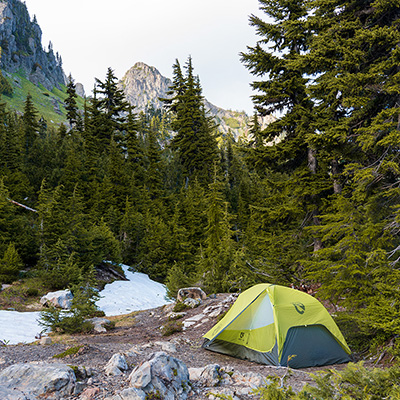
After 8 miles in, you arrive at Flapjack Lakes. There are numerous spots to camp around the lake. I have provided a detailed map of the campsites around the lake. I camped at the site circled in purple, but while exploring the area, I thought the site circled in green was the best campsite – it had a great view, was near the toilet, and had quick access to the small peninsula on the lake. Many of the other sites I didn’t find too appealing – not flat, lots of tree blowdown, or no views of the mountains.
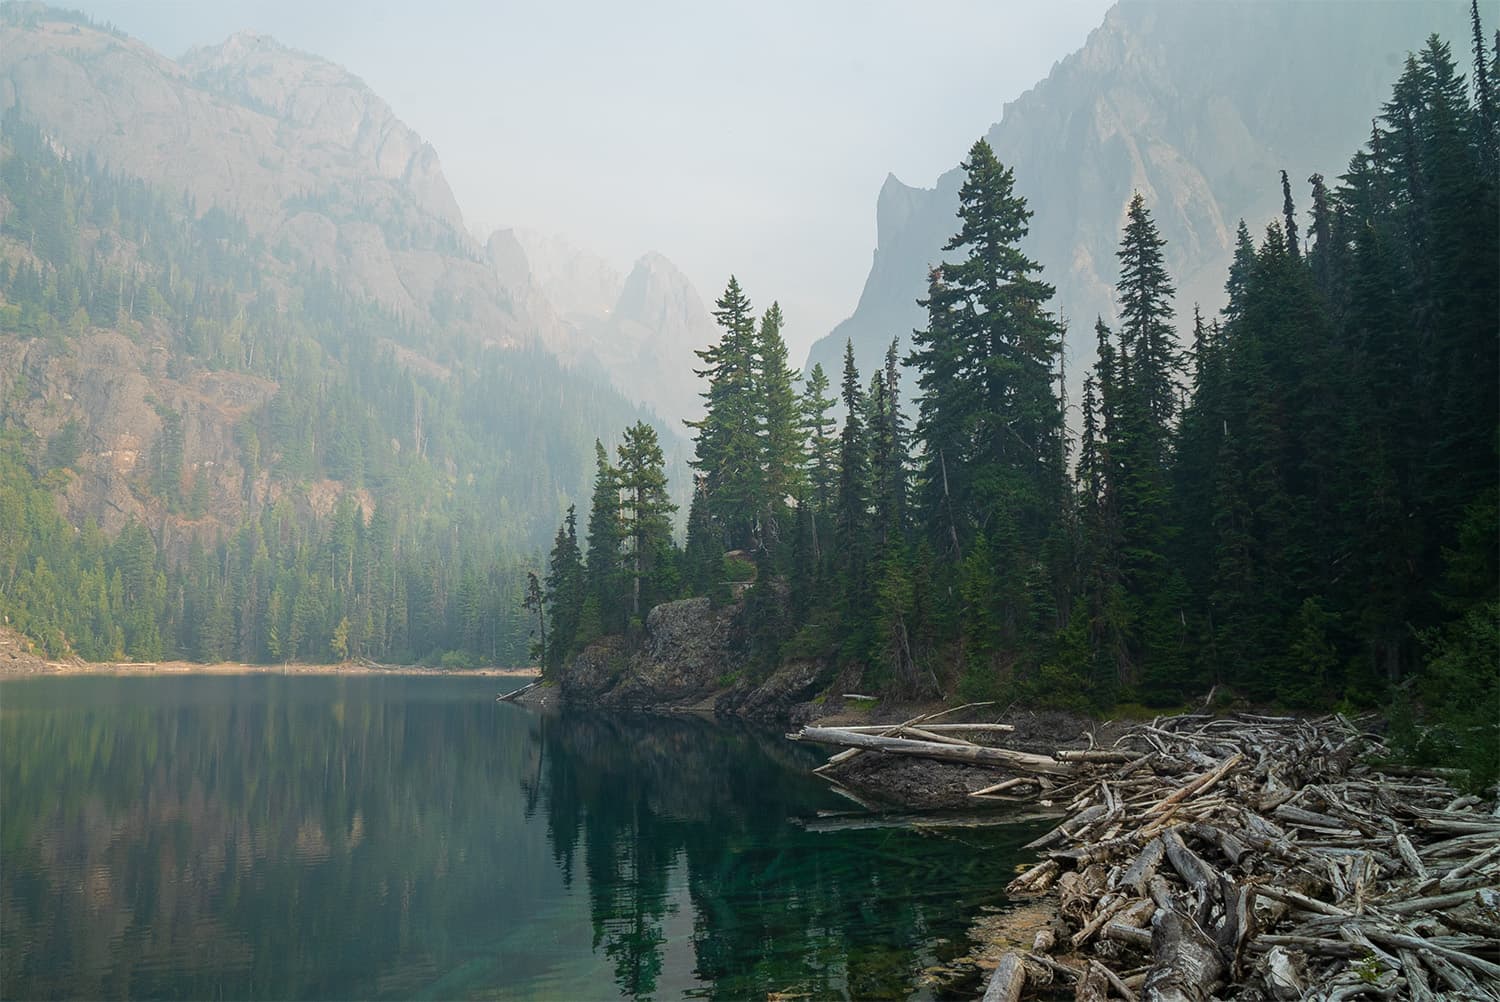
I was the only one camping at Flapjack Lakes, so I really enjoyed the peace and quiet. If you walk around the lake, you can get some unique views of the Sawtooth Range, which includes Mount Cruiser and Mount Gladys. The lakes lie just below the treeline, so you get some really awesome views of pines and exposed rocky peaks. You don’t really get views like this in Olympic National Park.
Gladys Divide
If you want some more adventure, I highly suggest you make the climb up to Gladys Divide, which sits between Gladys Peak and Mount Cruiser. This takes you above the treeline into the alpine terrain you can see from the lake. It’s an additional 1.4 miles and 1,100 feet of added elevation. You can leave all your camping gear behind and just take what you need to get up to Gladys.
This section of the trail was my favorite, hands down. Once you get above the treeline, the alpine terrain is gorgeous. Since I did this in mid-October, I had remnants of fall still present. In late spring into summer, the wildflowers up here would be absolutely stunning.
As you hike through the alpine meadows and pass through towering cliffs of granite, you will reach the top of Gladys Divide. This location marks the divide at 5,000 feet. Enjoy views of the Olympic Mountains from this unique vantage point.
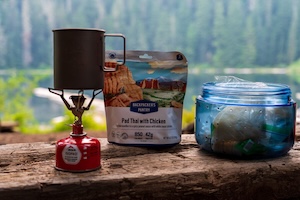
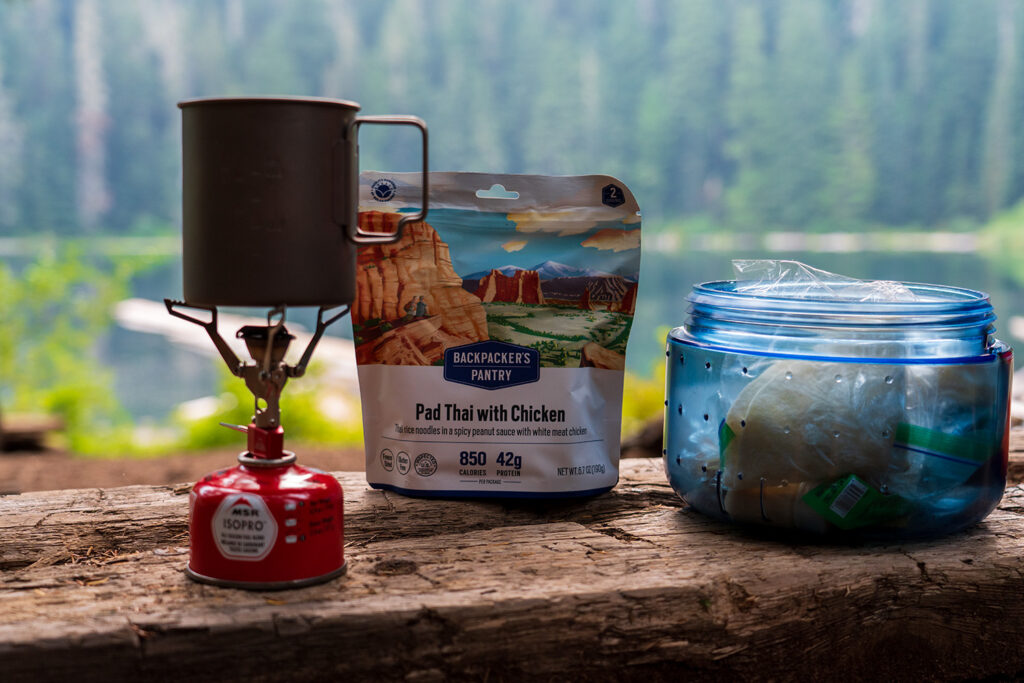
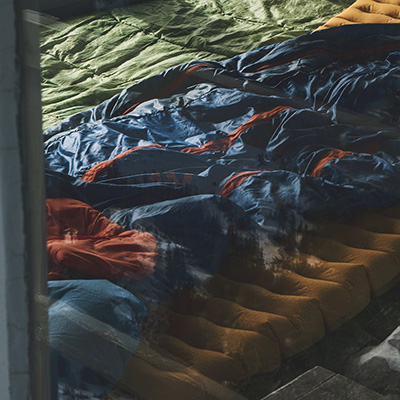
Gear for This Trip
I went fairly light for this trip, bringing just the essentials (except for the camp chair). I opted out of bringing a stove and just ate cold food. My gear included:
Tips for Hiking Flapjack Lakes & Gladys Divide
Flapjack Lakes is definitely a must-do if you want to explore the lesser-traveled areas of Olympic National Park. You may have difficulty getting a permit for the weekends if you haven’t booked in advance. I would suggest doing it in the off-season or during the middle of the week to avoid any crowds. This also gives you first pick on campsites at the lake. If you have Flapjack Lakes booked as your first/only site during your trip, I would get an early start on the trail to give yourself enough time to get there. If you think you won’t start until later in the day, then grabbing Spike Camp is a good option. Lastly, hiking up to Gladys Divide is a must-do!