- Total Distance: 12 miles
- Elevation Gain: 4,068 feet
- Difficulty Level: Hard
- Passes Required: National Park Pass
- Camping Permits: Backcountry Permit Required
Cascade Pass and Sahale Arm Glacier is easily one of the most iconic hikes in the North Cascades—and for good reason. If you had just a few days in Washington’s North Cascades and could only pick one hike, this should be it. I’ve done this hike multiple times, and I know I’ll keep coming back—it’s that spectacular.
To truly make the most of this hike, you should overnight camp at Sahale Glacier. A word of caution: securing a permit is notoriously difficult. But don’t worry—I’ll share tips to help improve your odds. In this guide, I’ll cover everything you need to know to turn this bucket-list hike into reality.
Obtaining a Permit for Sahale Glacier Camp
Before you even attempt to backpack this trail it needs to be said that the only way to stay overnight along this trail is by obtaining a backcountry permit and the only area along the trail you can camp is at the very end of the trail at the top near Sahale Arm Glacier. There are no other camping options.

You can obtain permits from Recreation.gov. Here are the key dates to keep in mind (subject to change each year):
- March 4–March 15: Early-Access Lottery applications accepted (deadline: March 15 at 9 pm PT)
- March 22: Lottery results announced
- March 25–April 23: Early-Access reservations open for lottery winners (deadline: April 23 at 9 pm PT)
- April 29: General On-Sale period opens at 7 am PT
- May 17–October 12, 2024: Wilderness Information Center open for Peak Season; reservations available for trips during this period
To secure a backcountry permit, apply through the Early-Access Lottery, which includes a $6 non-refundable entry fee. A few weeks later, you’ll be notified via email if you’ve been successful. If successful, you’ll be given a date to select your trip dates and campsites. Sahale Glacier Camp is always the first area that gets booked up.
Alternatives for Securing a Permit Without Lottery Success
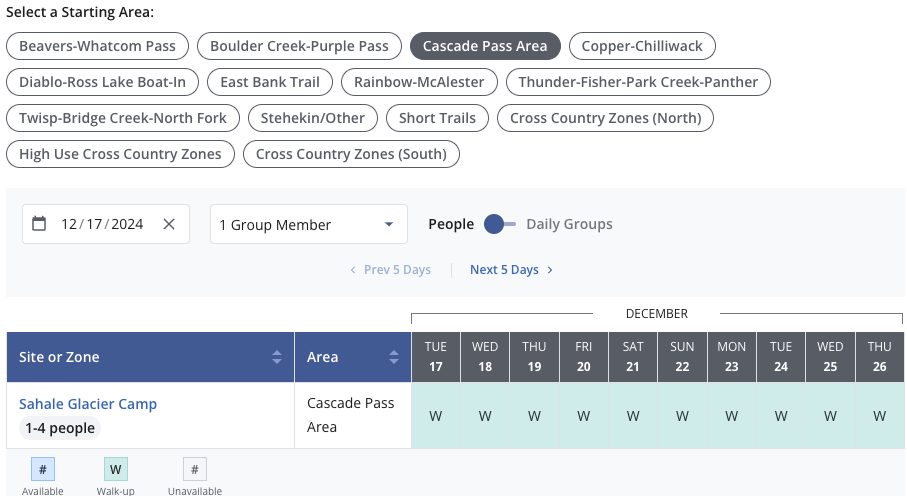
If you were unsuccessful in the lottery, there are still ways to obtain permits! You can try again on April 29 when the General On-Sale period opens at 7 am PT. However, you’ll be competing with many others who didn’t get early access, so permits can go quickly (if there are even any left). If you’re still unable to secure a spot, 40% of the total permits are reserved for walk-ups, giving you another opportunity to grab a permit on the day of your trip.
To get a permit the day of your trip, you can arrive at the North Cascades Wilderness Information Center (Marblemount) which opens at 7:00AM and you’ll want to arrive earlier honestly. Make sure you already have a Recreation.gov account because you’ll need this so they can add the Permit to your account. Come prepared for your hike and if you’re unsuccessful at getting a walk-up permit you can always day hike the trail.
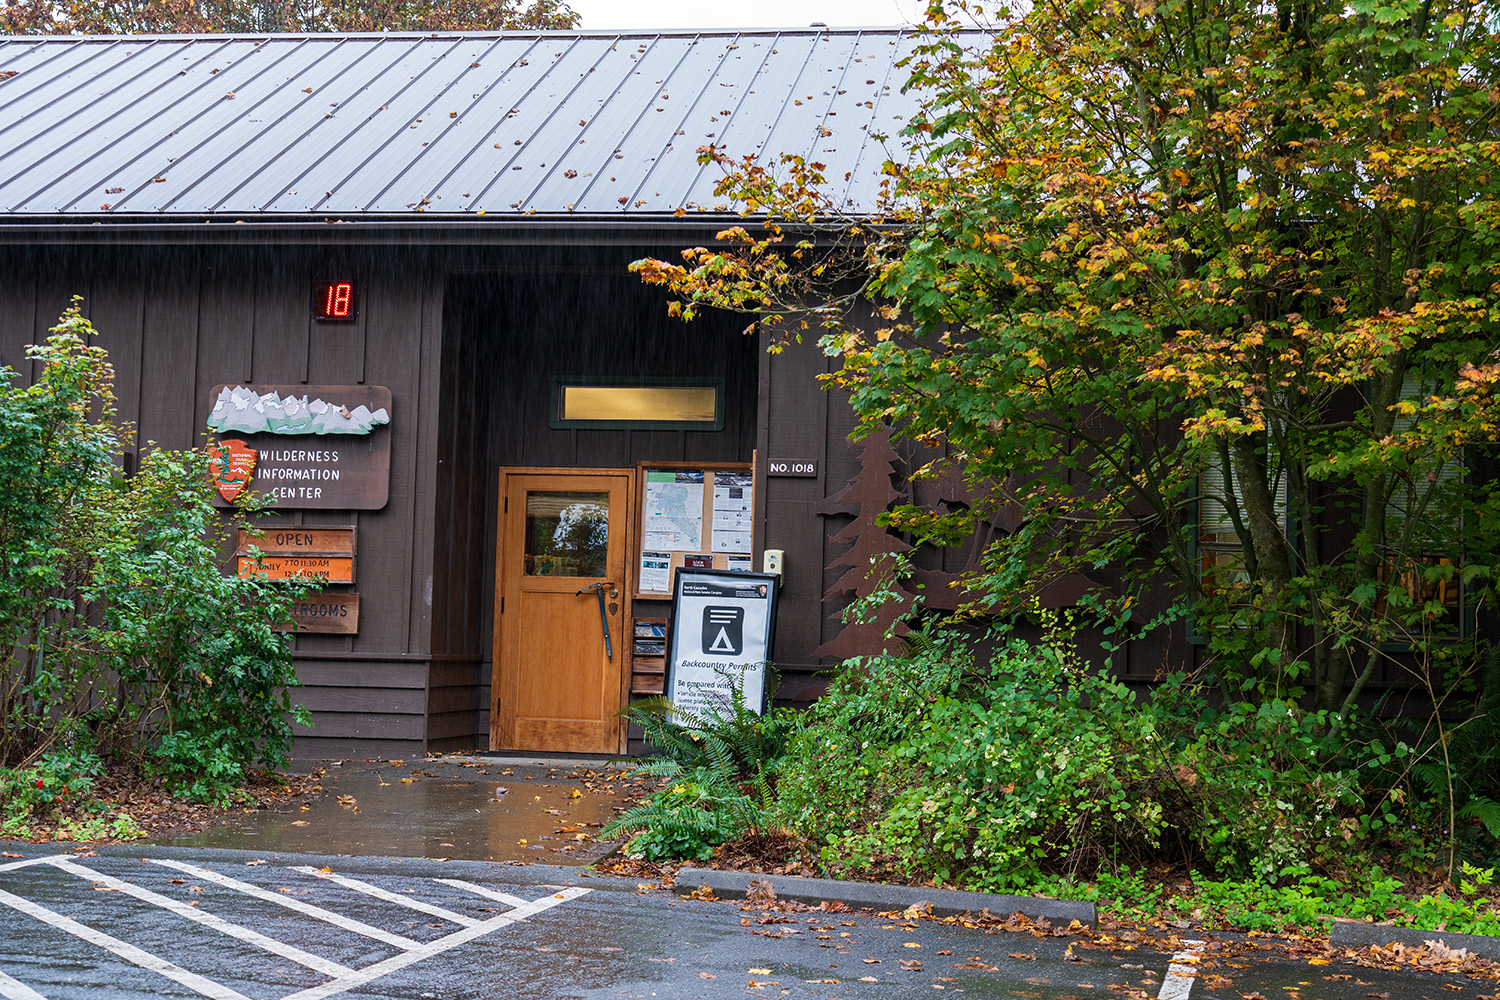
Here’s a Tip! You can pick up a numbered ticket the evening before, right when they close, which ensures you’ll be among the first called the following morning. However, you must return early, before they open (around 7AM), to ensure that you don’t miss your number when they begin calling. If you aren’t present when your number is announced, you’ll lose your spot and have to go to the back of the line.
From roughly October 12 to May 17 (dates may vary), you can self-issue a permit at the Ranger Station or call/email ahead to request one. While you’re almost guaranteed a permit during this off-peak season, expect snowy conditions.
You Secured a Backcountry Permit Online? Don’t Lose Your Reservation!
You can activate your permit the day before your trip or the same morning at the Marblemount Wilderness Information Center. If you do not do this with a ranger by 11AM, you will lose your reservation. They require this to make sure you understand the rules and regulations and provide you with any current important information about the trail.
Best Time to Camp at Sahale Glacier Camp
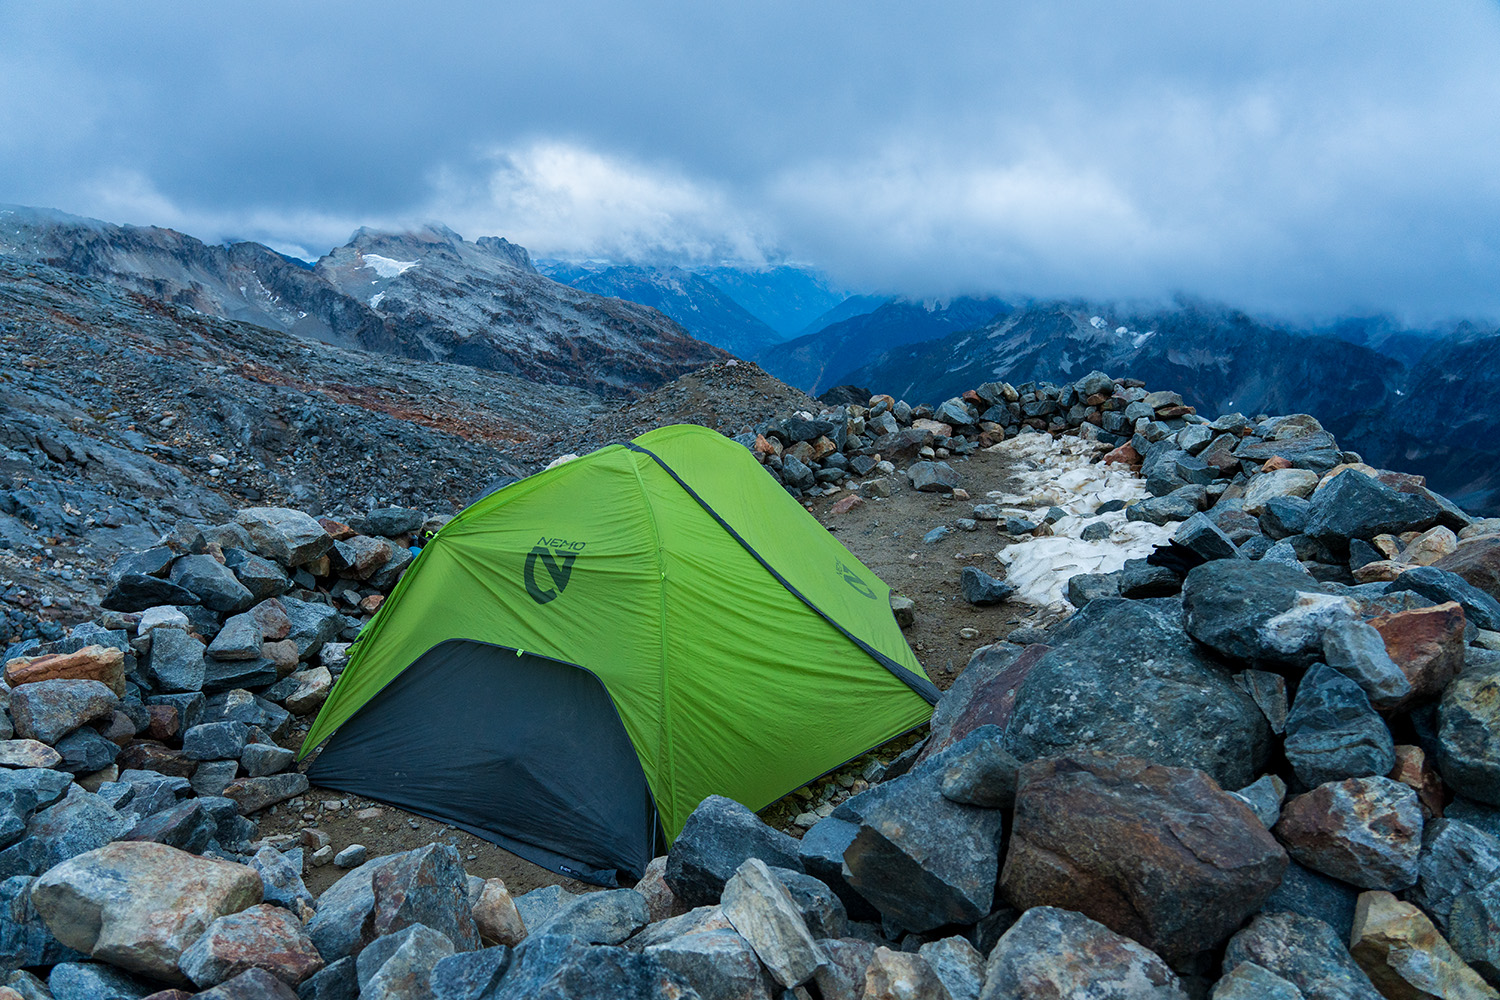
The best time to backpack to Sahale Glacier Camp is from late July to early October, when the trail is typically snow-free and conditions are more favorable for clear skies, making for stunning sunrises and sunsets. I hiked this trail on October 8th, near the end of the season, and encountered only a small amount of snow near the summit. However, during the night, I faced rain, sleet, and relentless wind, which made for a rough experience. Despite the challenging conditions, I was rewarded with peak fall foliage along the trail, making it well worth the effort.
Getting to the Cascade Pass Trailhead
From the Ranger Station, it’s about a 50-minute, 25-mile drive along Cascade River Road to the Cascade Pass Trailhead. The first 13 miles are paved before turning into gravel. As you near the end, the road alternates between pavement and gravel in the last 2 miles, so be prepared for sudden changes in road surface. Stay alert for fallen rocks, watch out for potholes, and be ready to pull over for oncoming traffic on this narrow and often busy route.
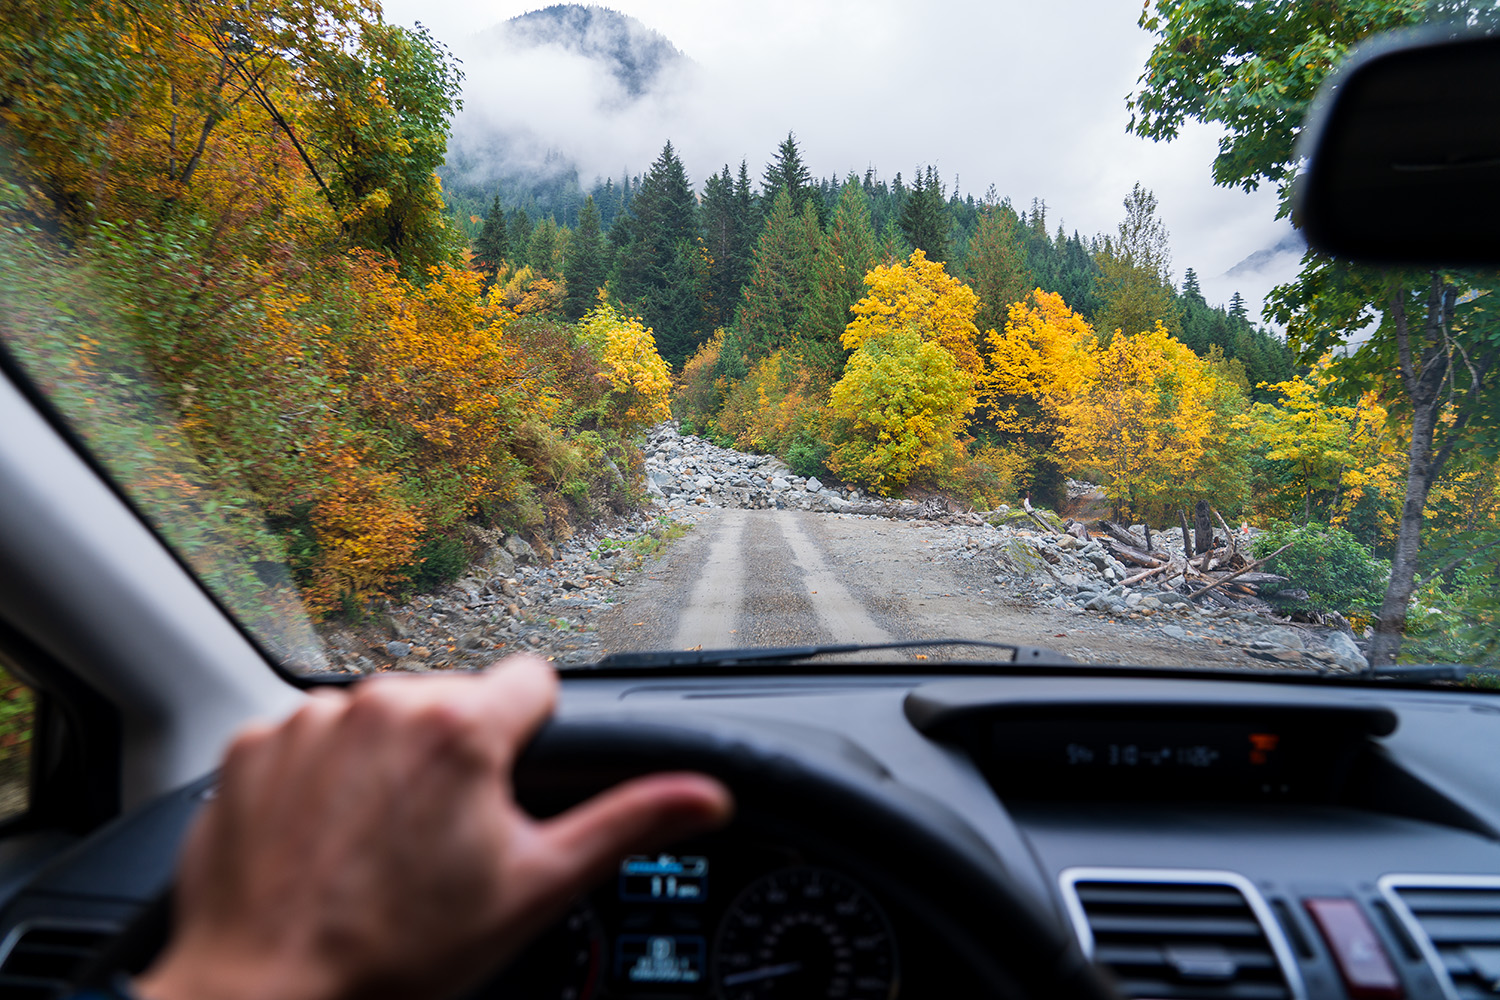
Along the way, you’ll pass Marble Creek and Mineral Park Campgrounds, which can be convenient overnight options before your hike. Although the trailhead has ample parking, it often fills up on weekends, so you may have to park along the road. Even from the trailhead, the views are spectacular. There are pit toilets located at the trailhead. View current road status.
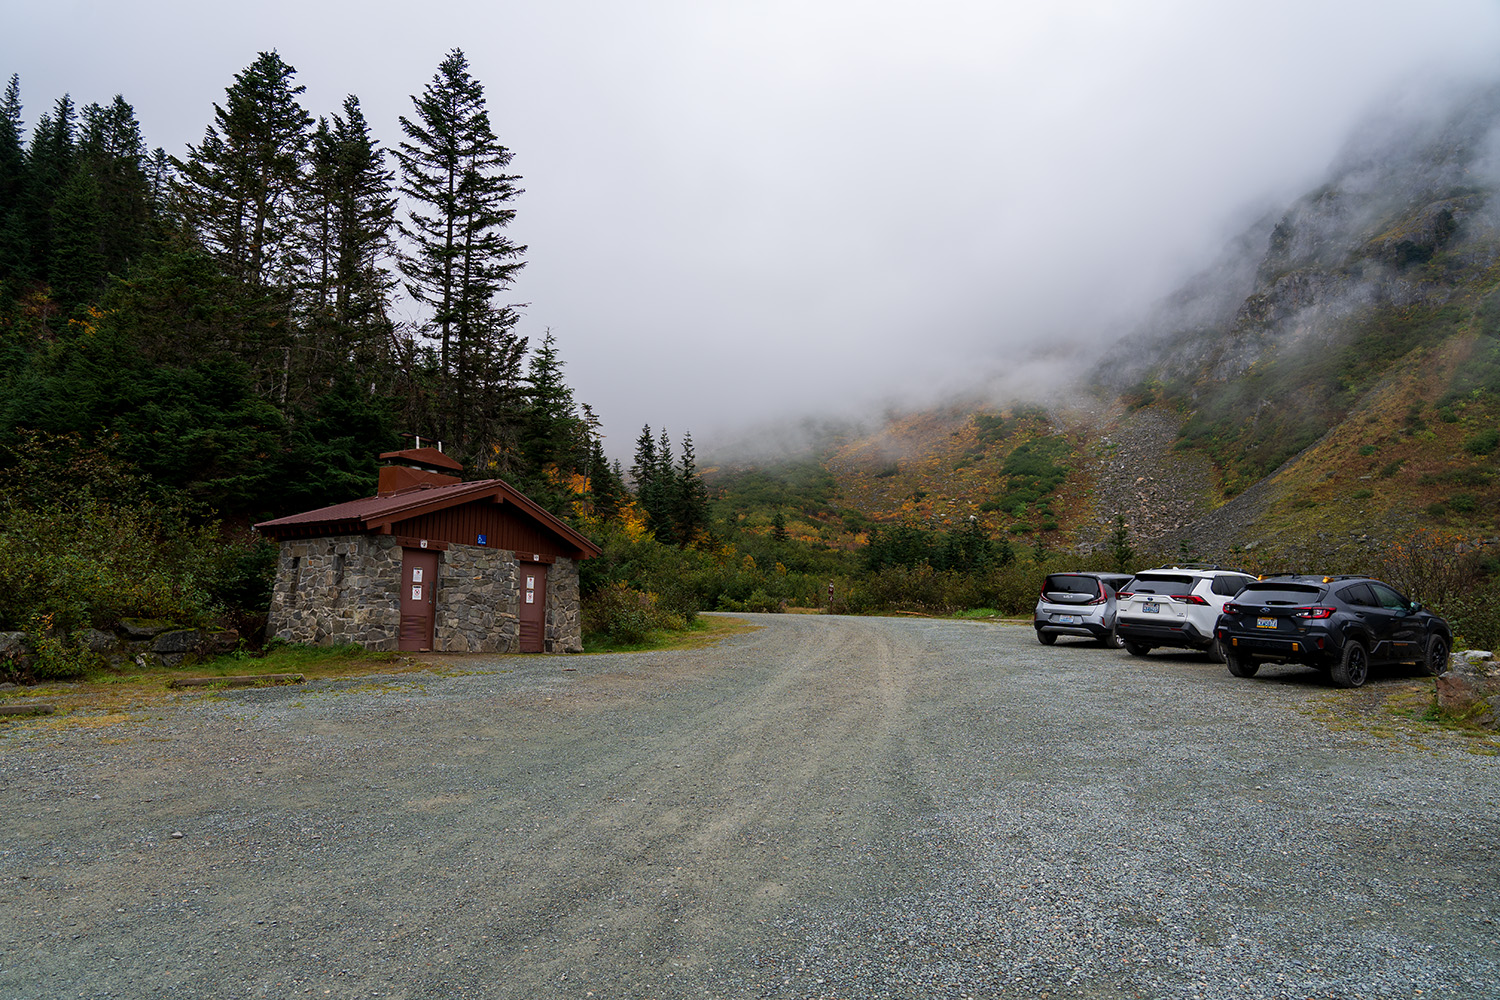
The Hike to Sahale Arm Glacier via Cascade Pass
The first 3.5 miles of the hike lead up to Cascade Pass, with the initial 2.8 miles dominated by a series of switchbacks that help you gain roughly 1,500 feet of elevation. Anticipating rain and cooler temperatures near the top, I swapped my usual trail runners for boots. Although it was only about 50°F at the start, the steady climb soon had me peeling off layers to keep from sweating.
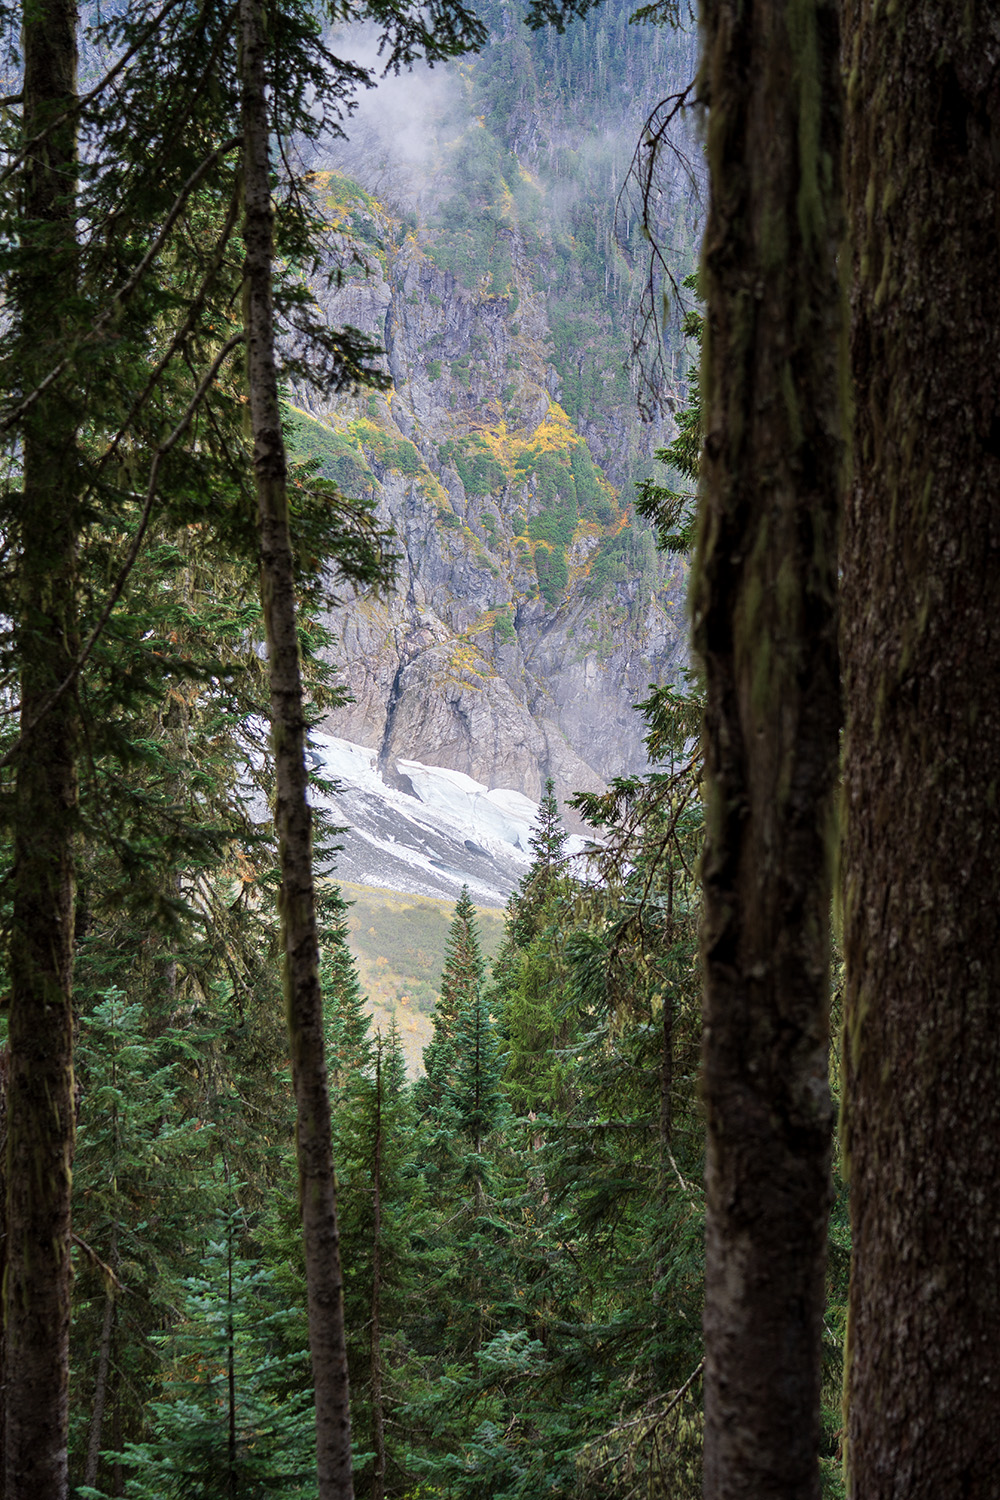
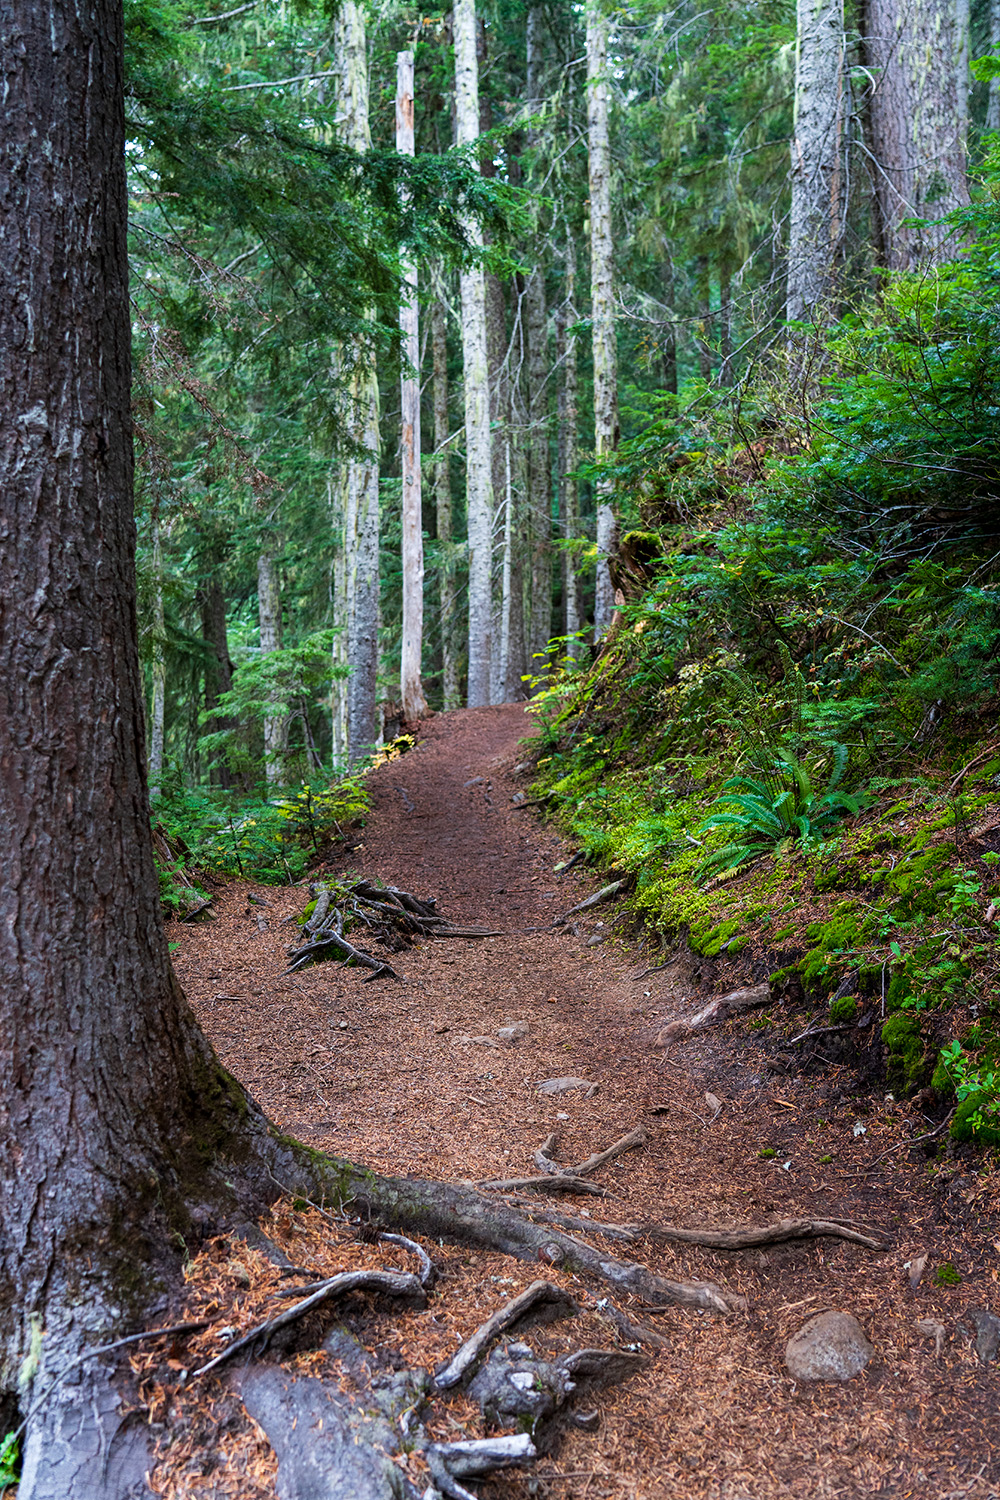
As I ascended through a pine forest rich with devil’s club and ferns, the seemingly endless switchbacks actually made the elevation gain more manageable. Their gentle turns allowed for a steady, controlled climb rather than a lung-busting trudge straight uphill. Despite the overcast weather with a light mist when starting, I caught occasional glimpses of blue sky—a welcome sign that conditions might clear.
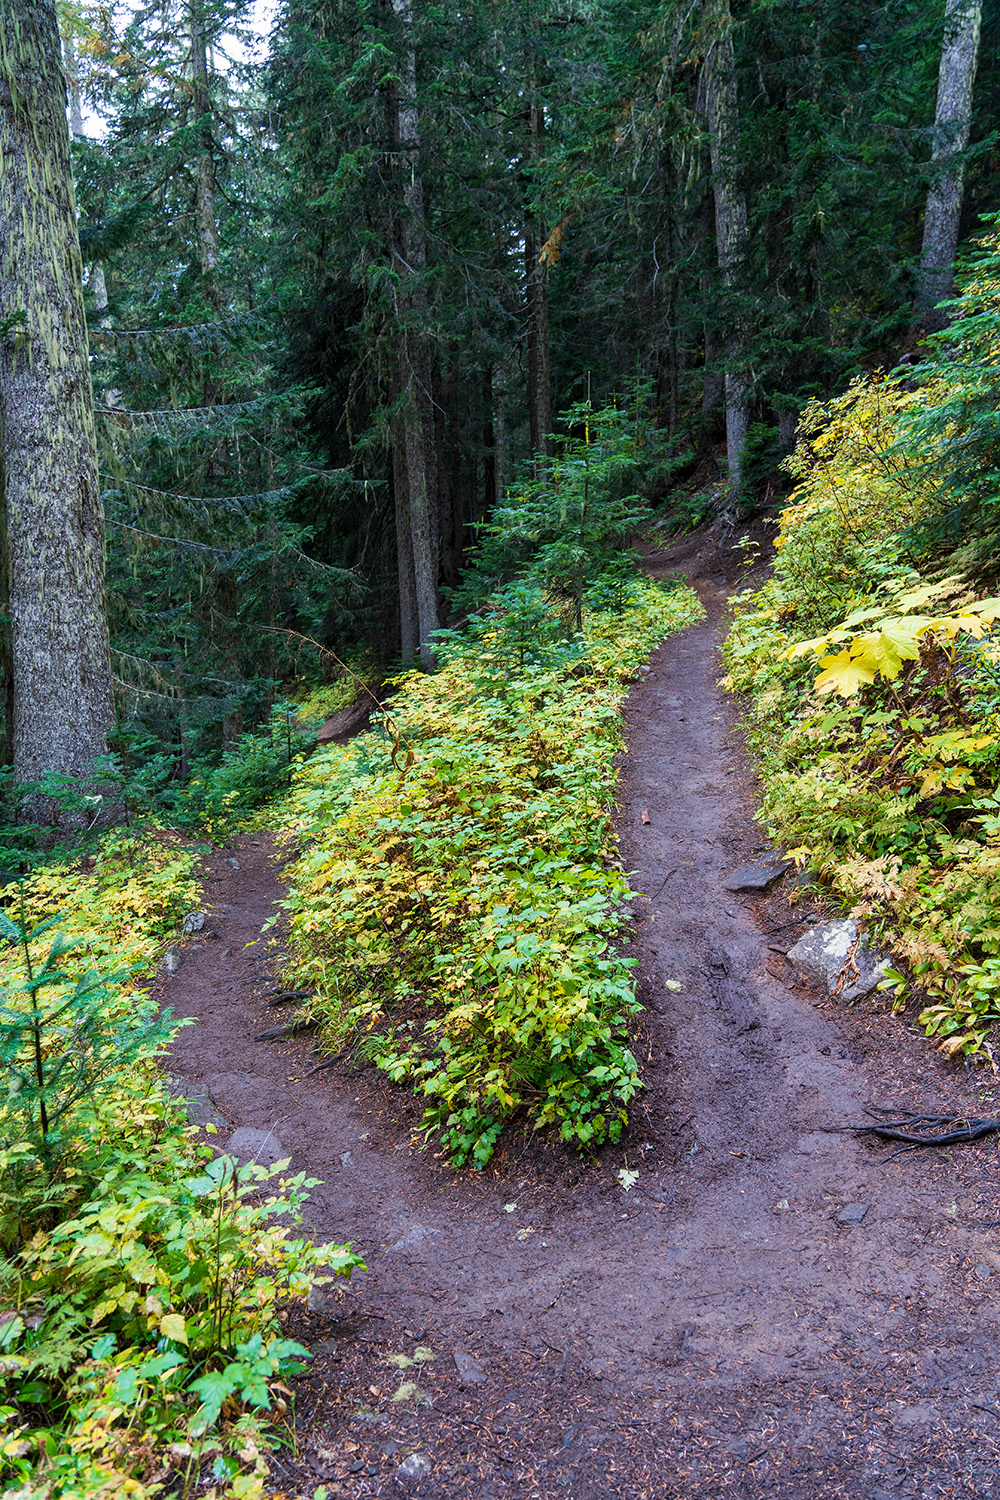
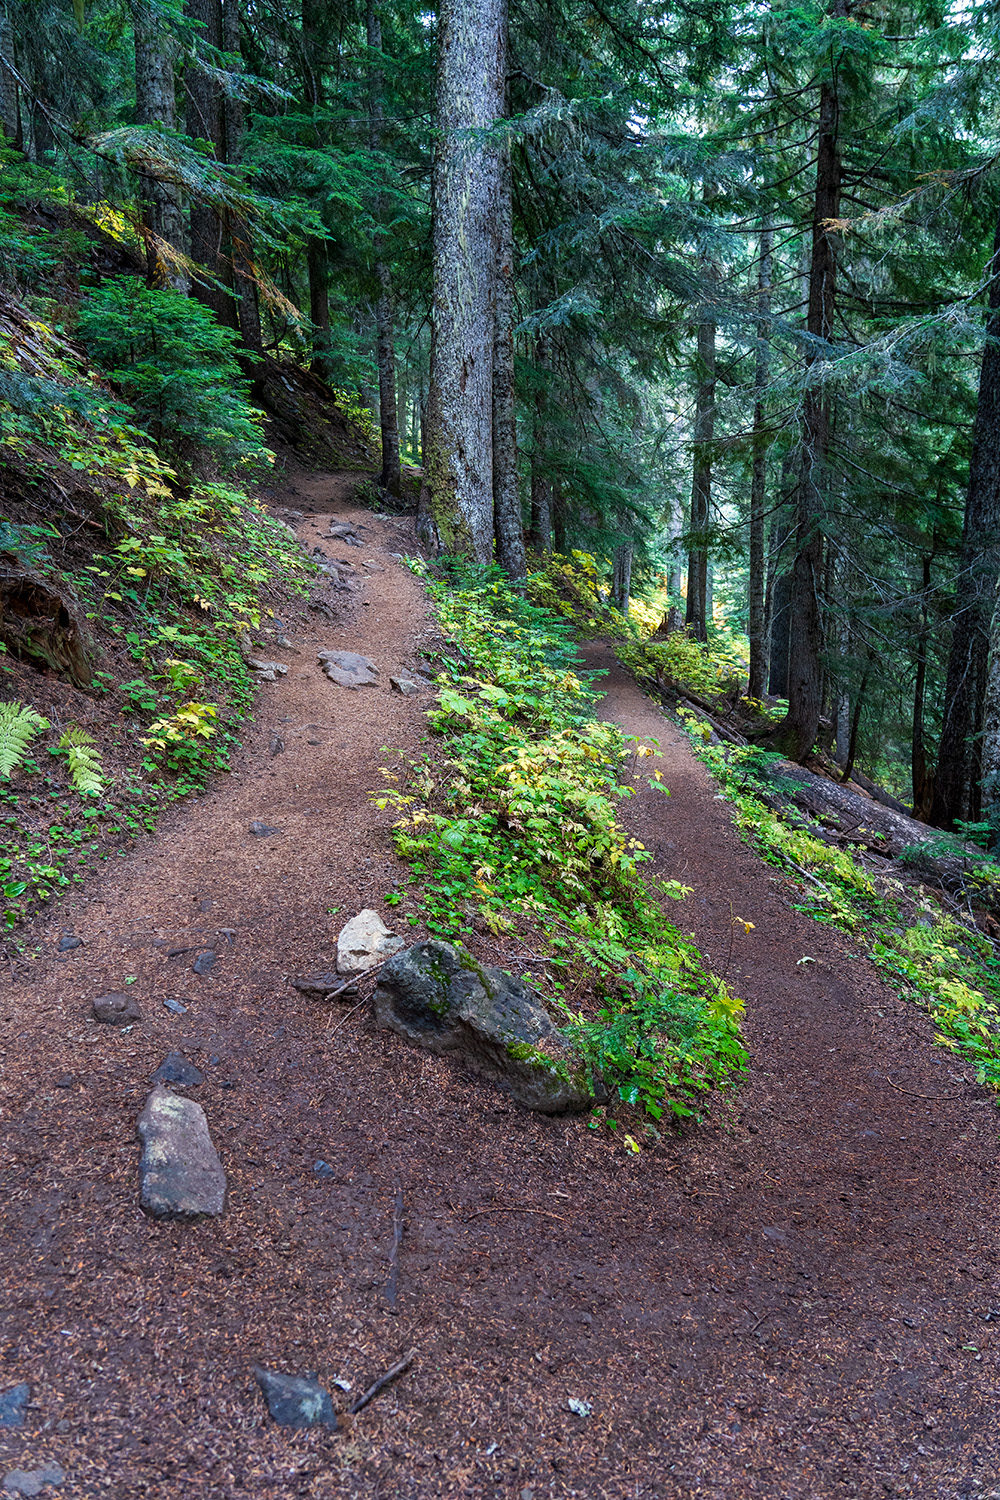
The upper portion of the switchback section offered the soft murmur of small streams in the distance. Occasionally, I’d hear large sheets of ice tumbling down the distant cliffs, an impressive reminder of the rugged surroundings. Wildlife was present too; at one point, I spotted a grouse quietly foraging along the trail. With each turn, the views improved, offering tantalizing peeks of valleys and distant peaks.
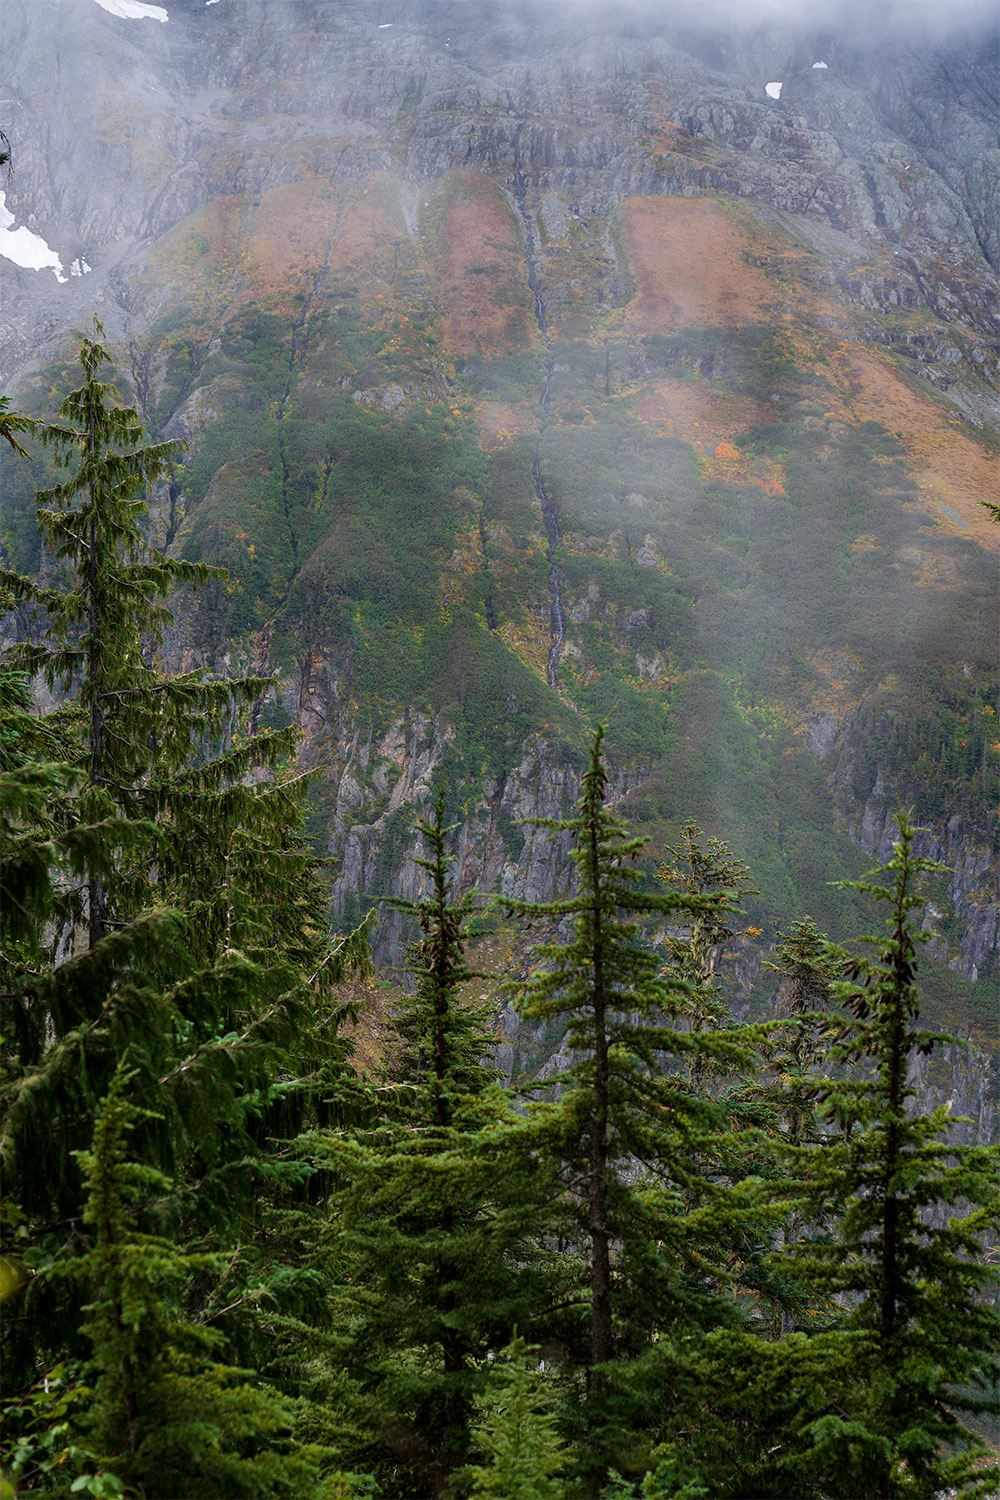
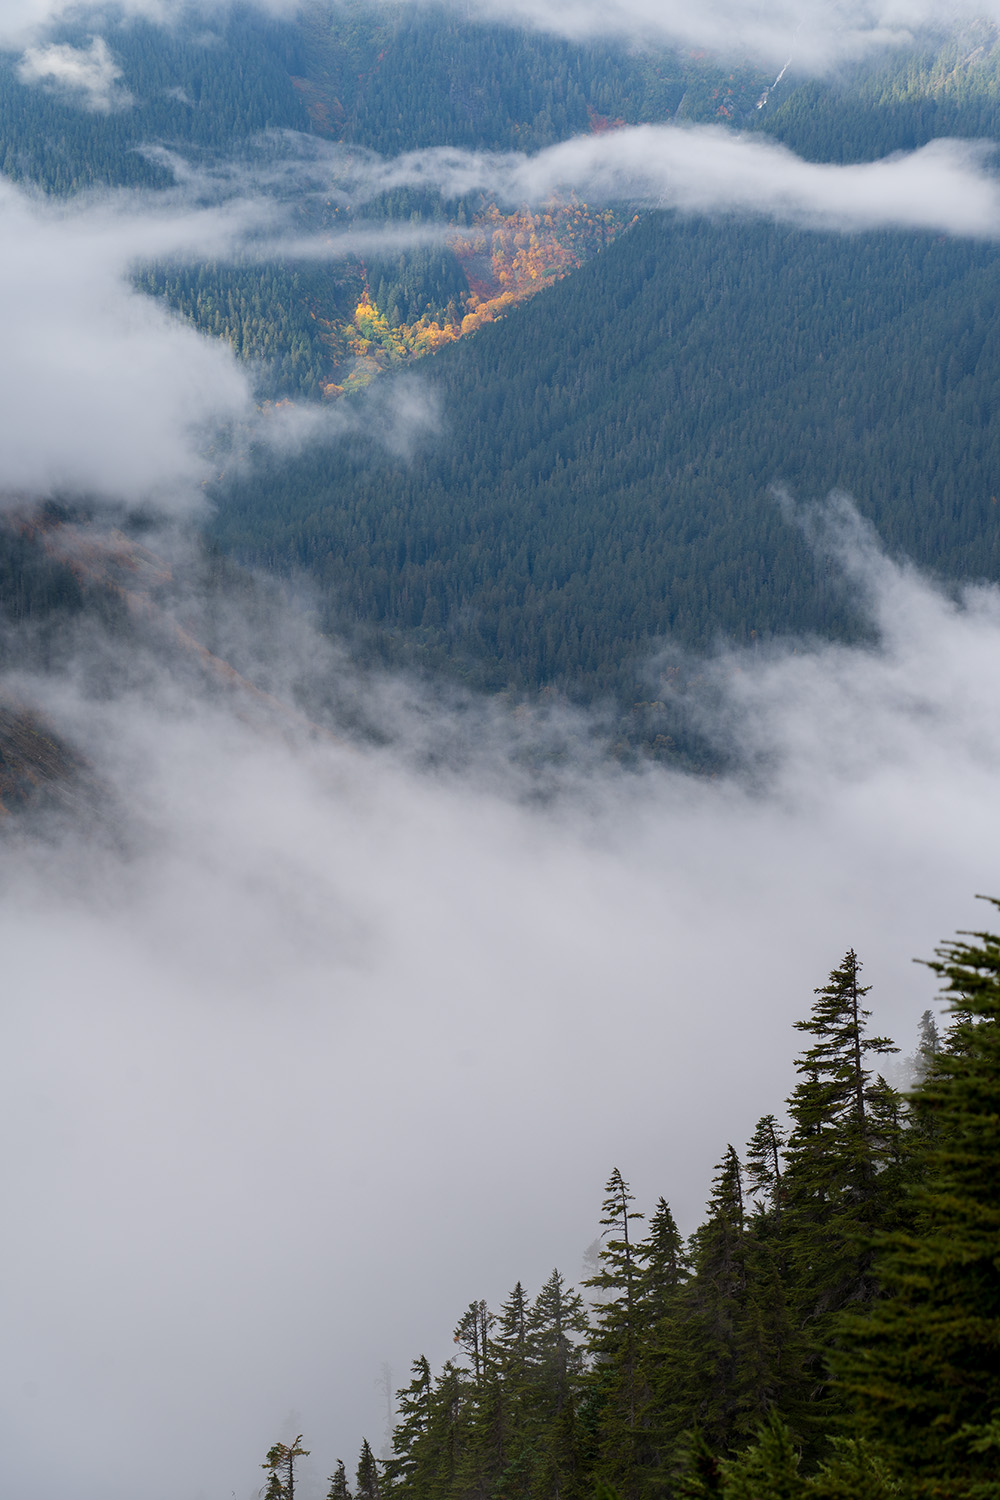
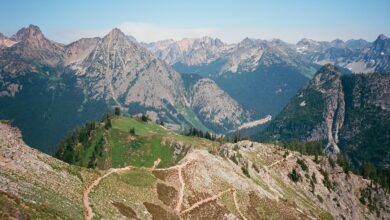
By the time I reached the top of the ridge, the trail opened up and turned rockier, revealing peaks across the valley—Johannesburg Mountain, Cascade Peak, and The Triplets—all soaring above 7,000 feet.
As the trail begins to level out along the ridge, the views really start to open up. Down in the valley below, the landscape is popping with vibrant fall colors, and across the way you’ll spot glaciers clinging to the mountains, with waterfalls cascading from their icy faces.
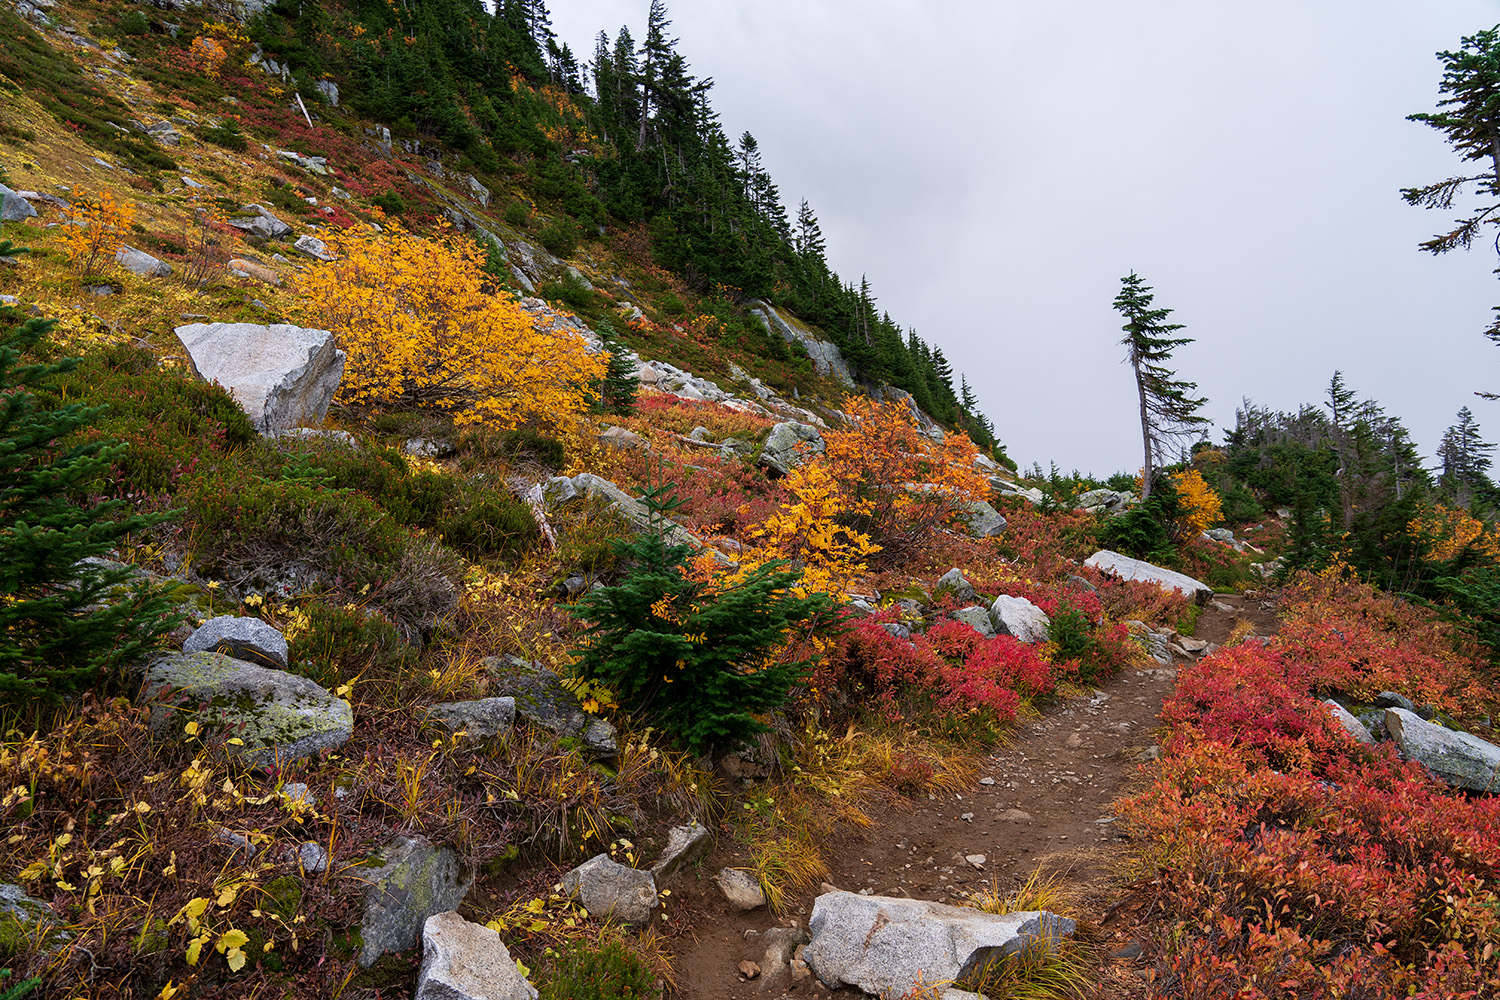
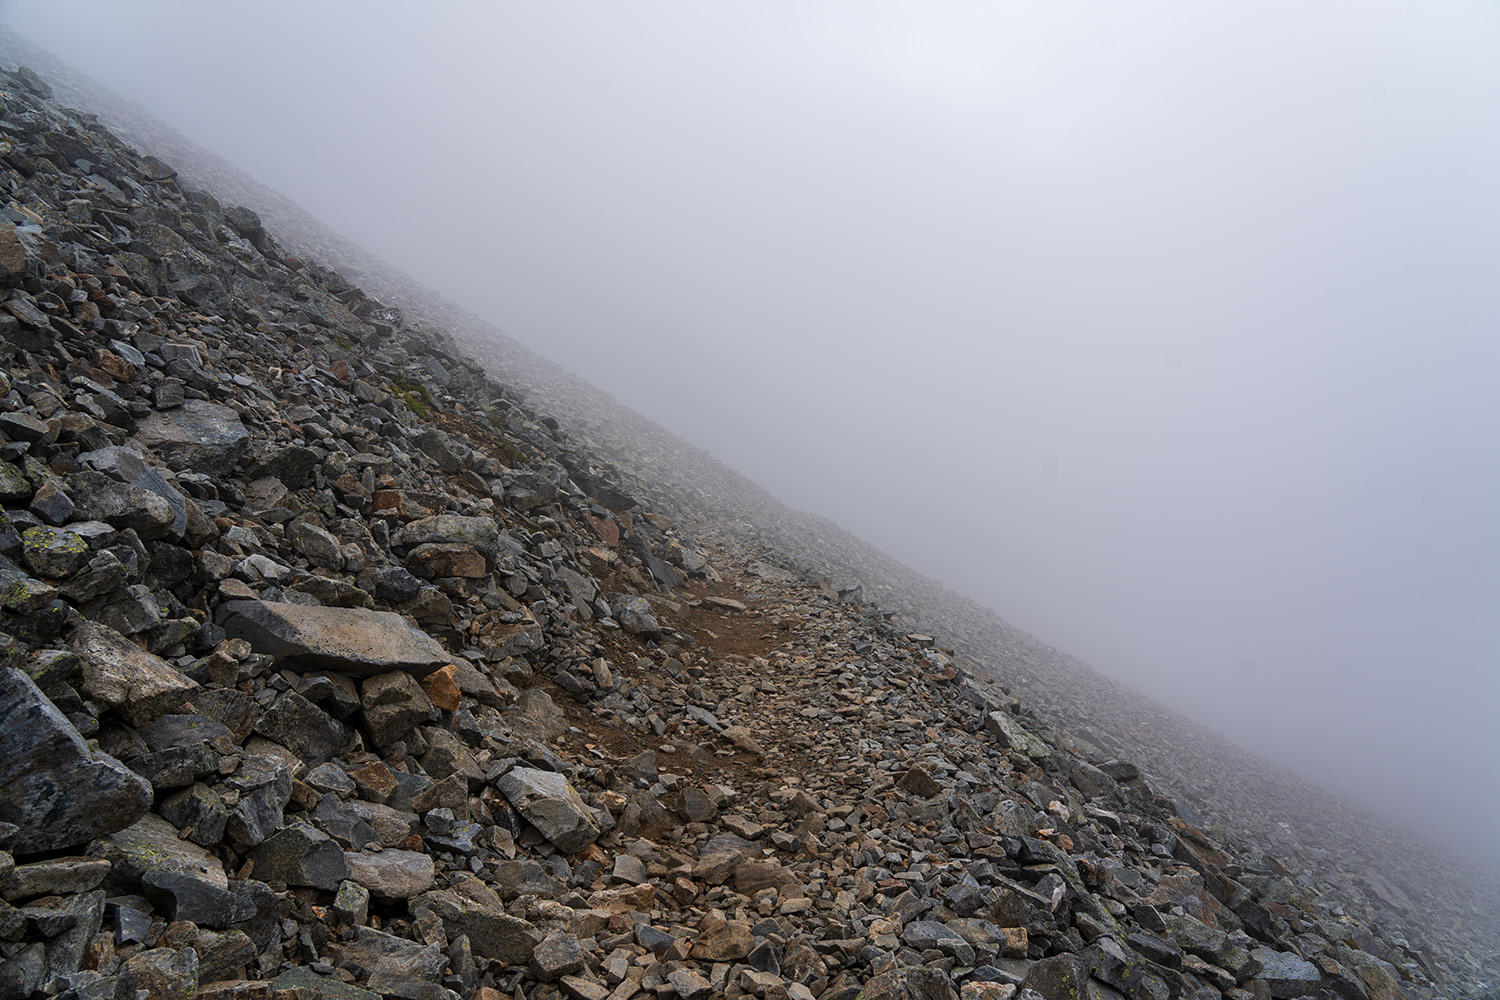
Before long, you’ll pass through a meadow dotted with huge boulders and plenty of tall grass. Listen closely and you might hear the cheerful calls of pika hiding among the rocks. The path then leads you across a large boulder field, and just beyond that, you’ll find Cascade Pass.
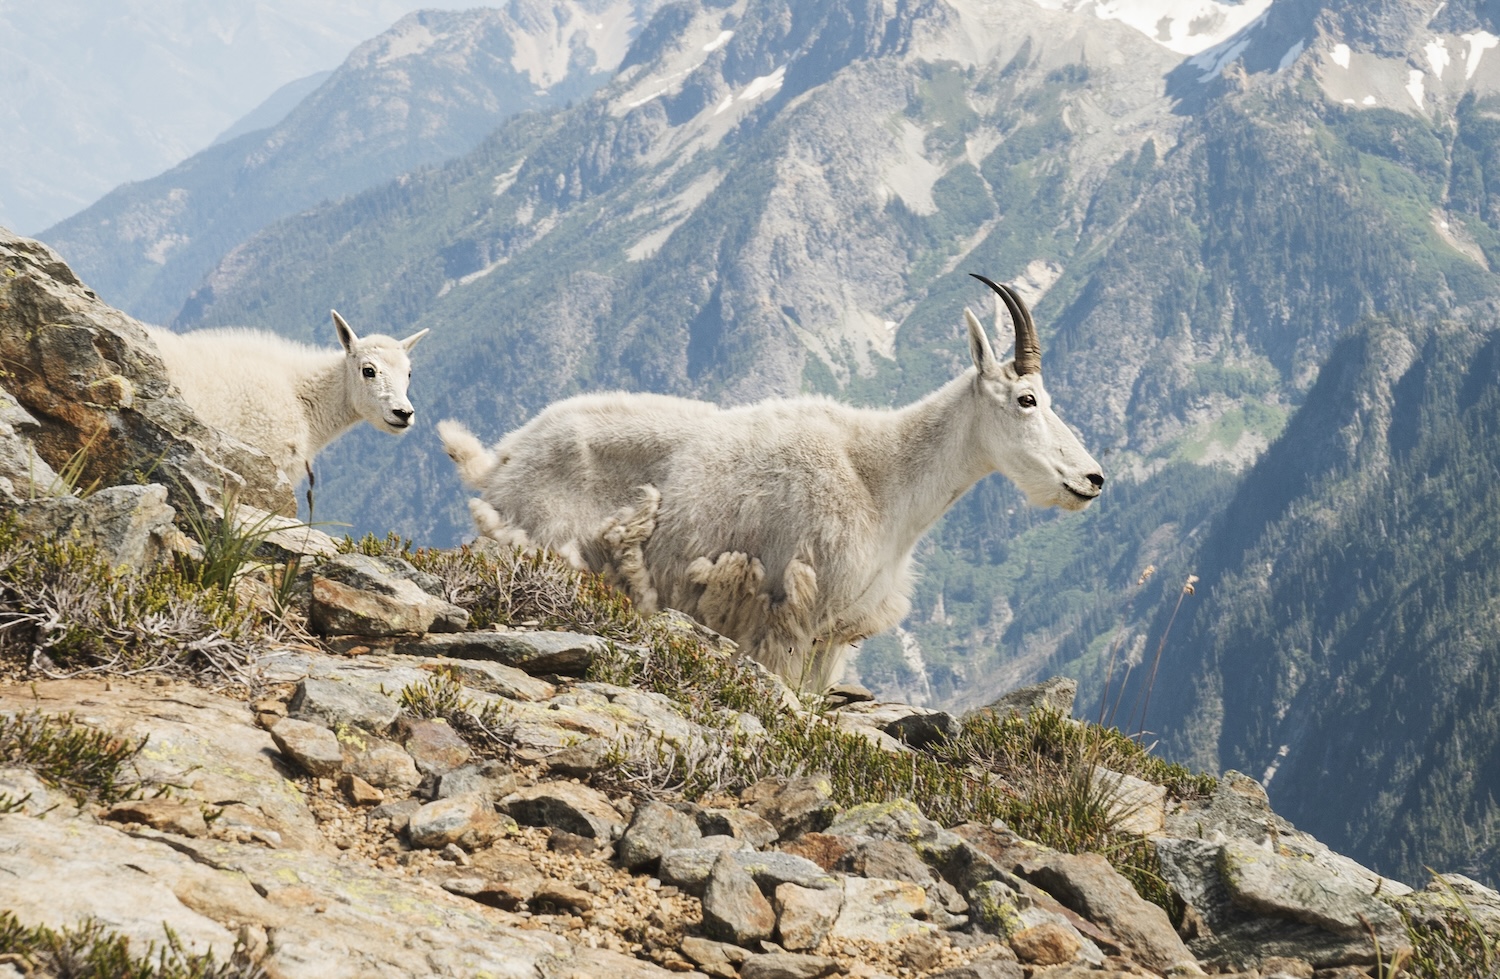
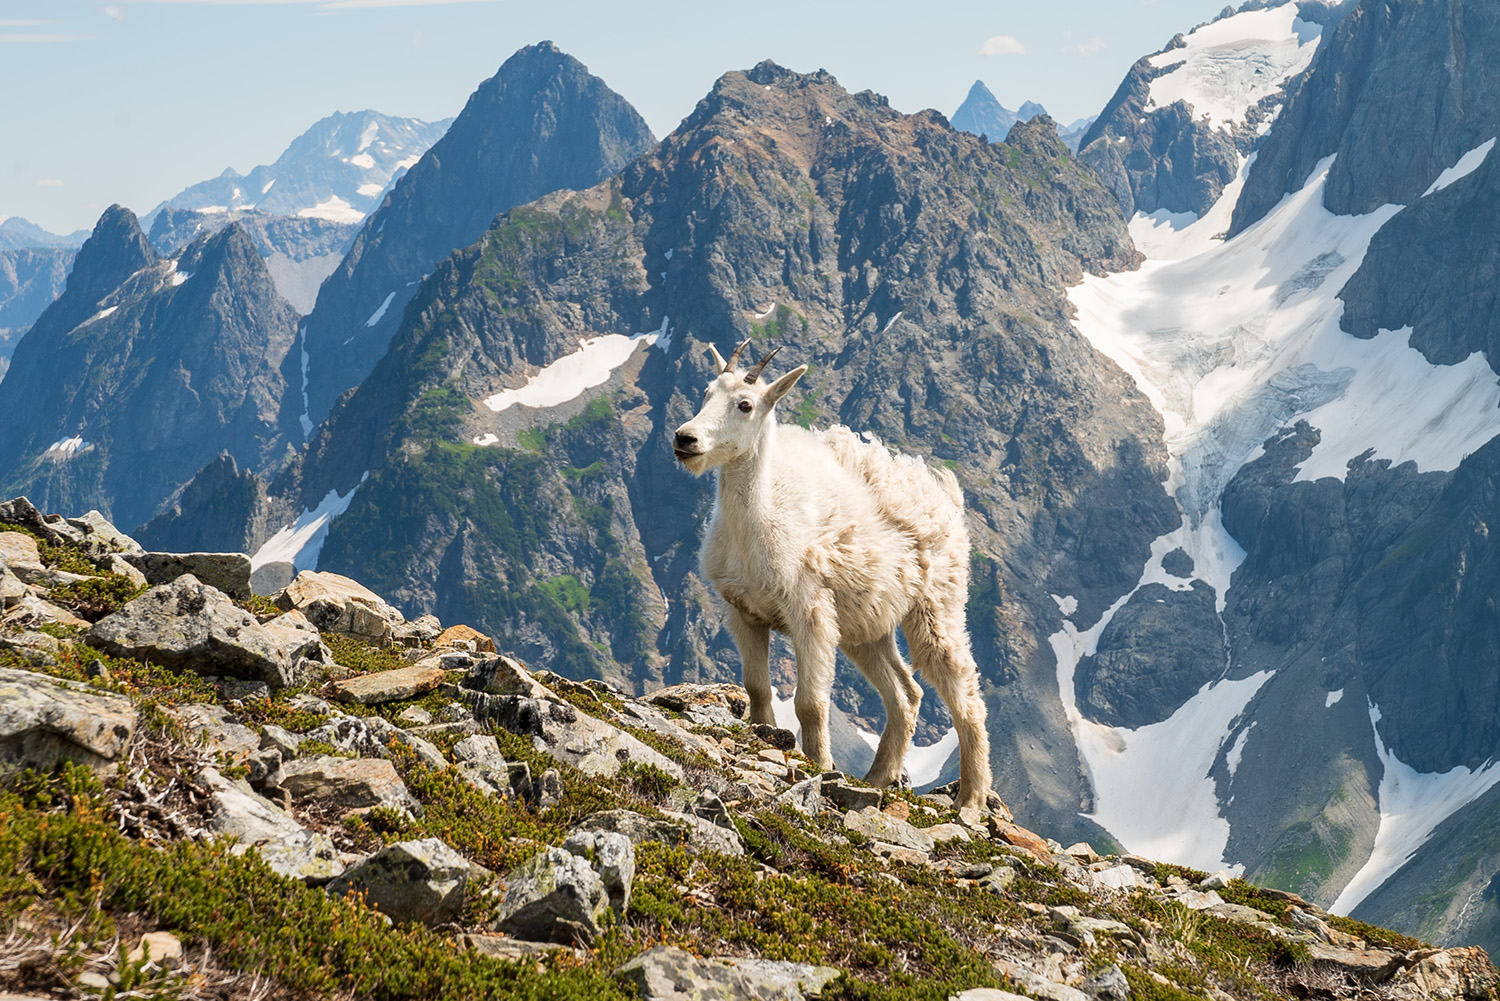
From the pass, Mix-up Peak, Magic Mountain, and Hurry-up Peak dominate the skyline to your right. Glance to the left and you may spot the trail continuing onward. Blueberry bushes blanket the slopes, luring black bears in the fall, while mountain goats wander down for salt near the composting toilet tucked up the hill.
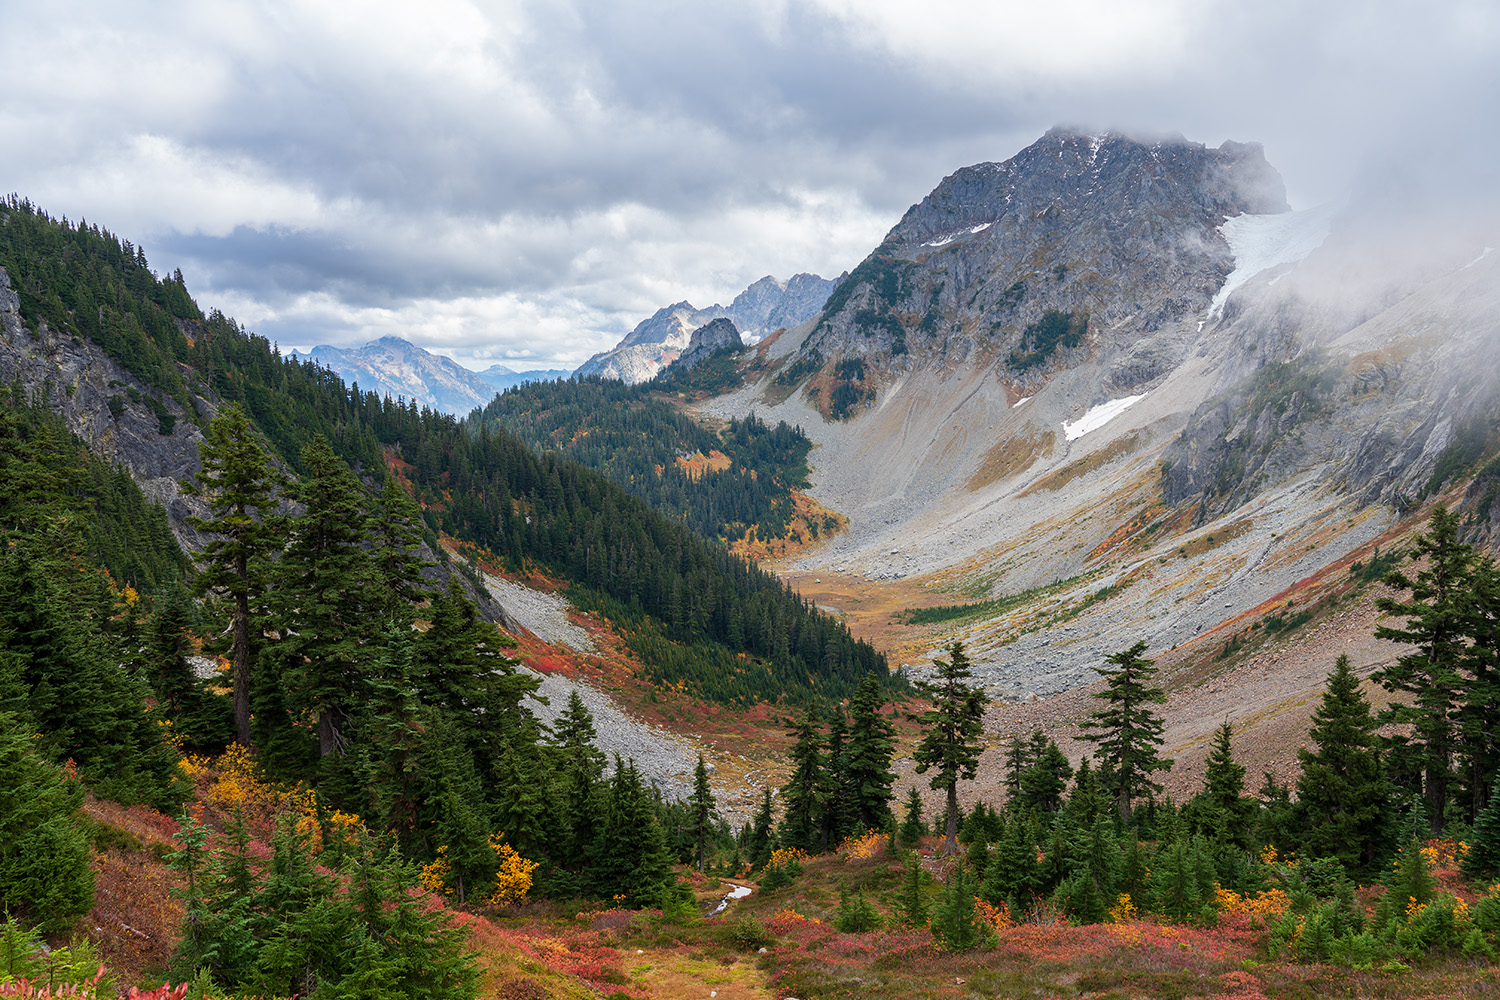
This is the perfect place to pause and enjoy a snack or lunch before moving on. The setting is simply incredible—you’ve earned these views, so take a moment to appreciate the scenery all around you.
After leaving Cascade Pass, you’ll reach a trail marker with two options. Stay left to head towards Sahale Arm rather than veering right toward Stehekin.
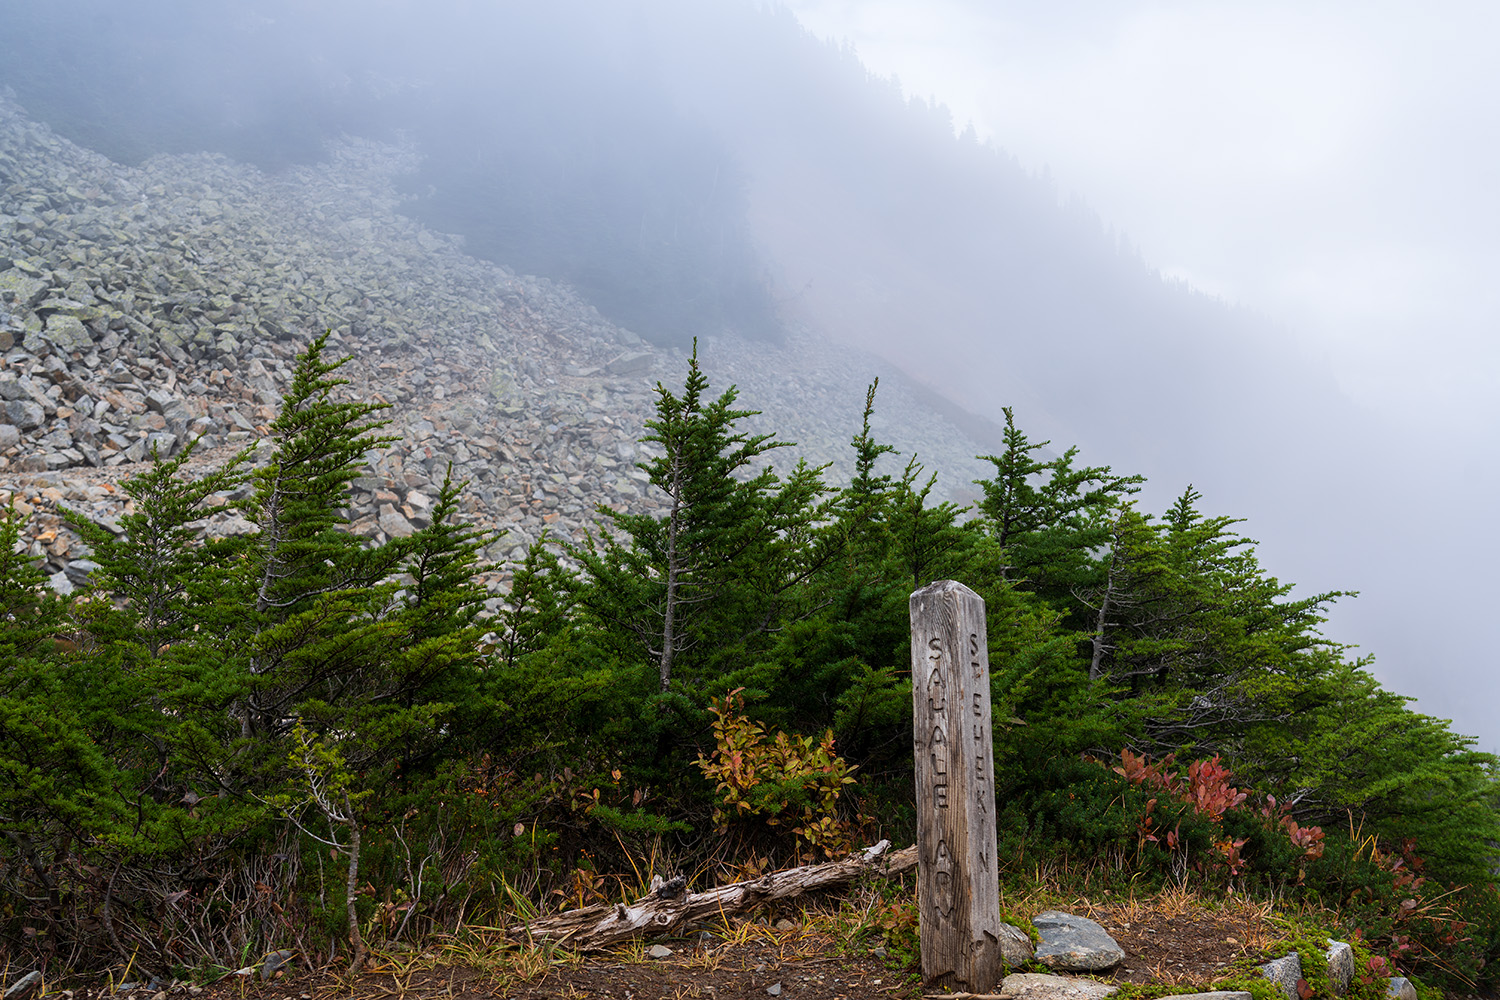
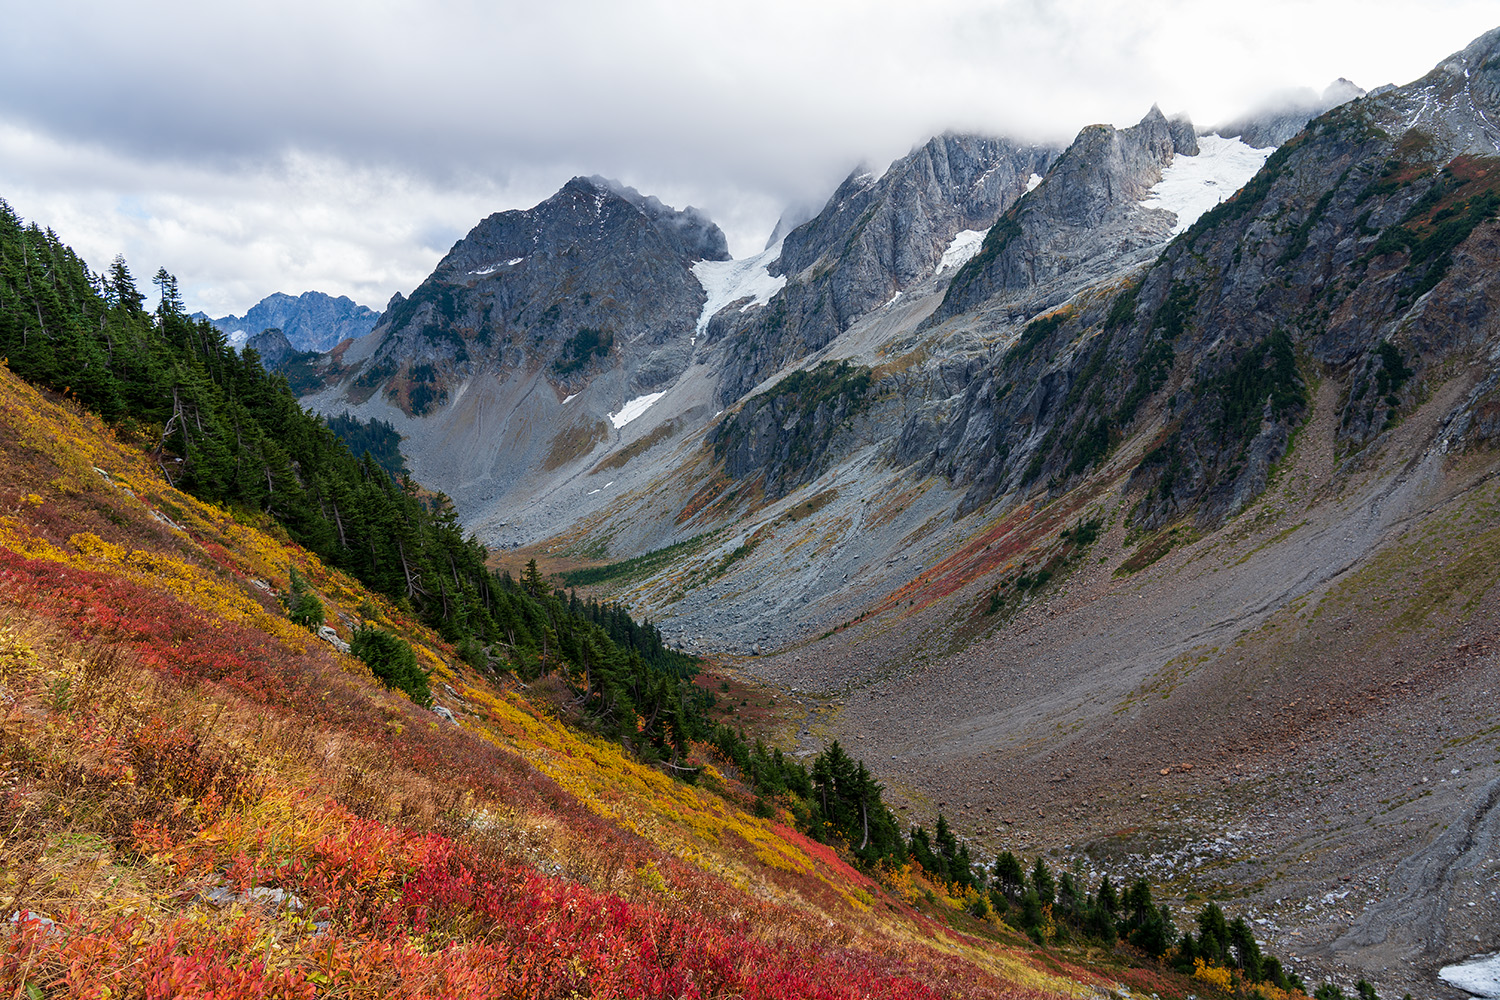
Almost immediately, you’ll encounter a boulder field on your left and begin switchbacking up the hillside. From Cascade Pass to the Sahale Glacier, you’ll gain roughly 2,200 feet of elevation—a steep climb that truly pays off with the views ahead.
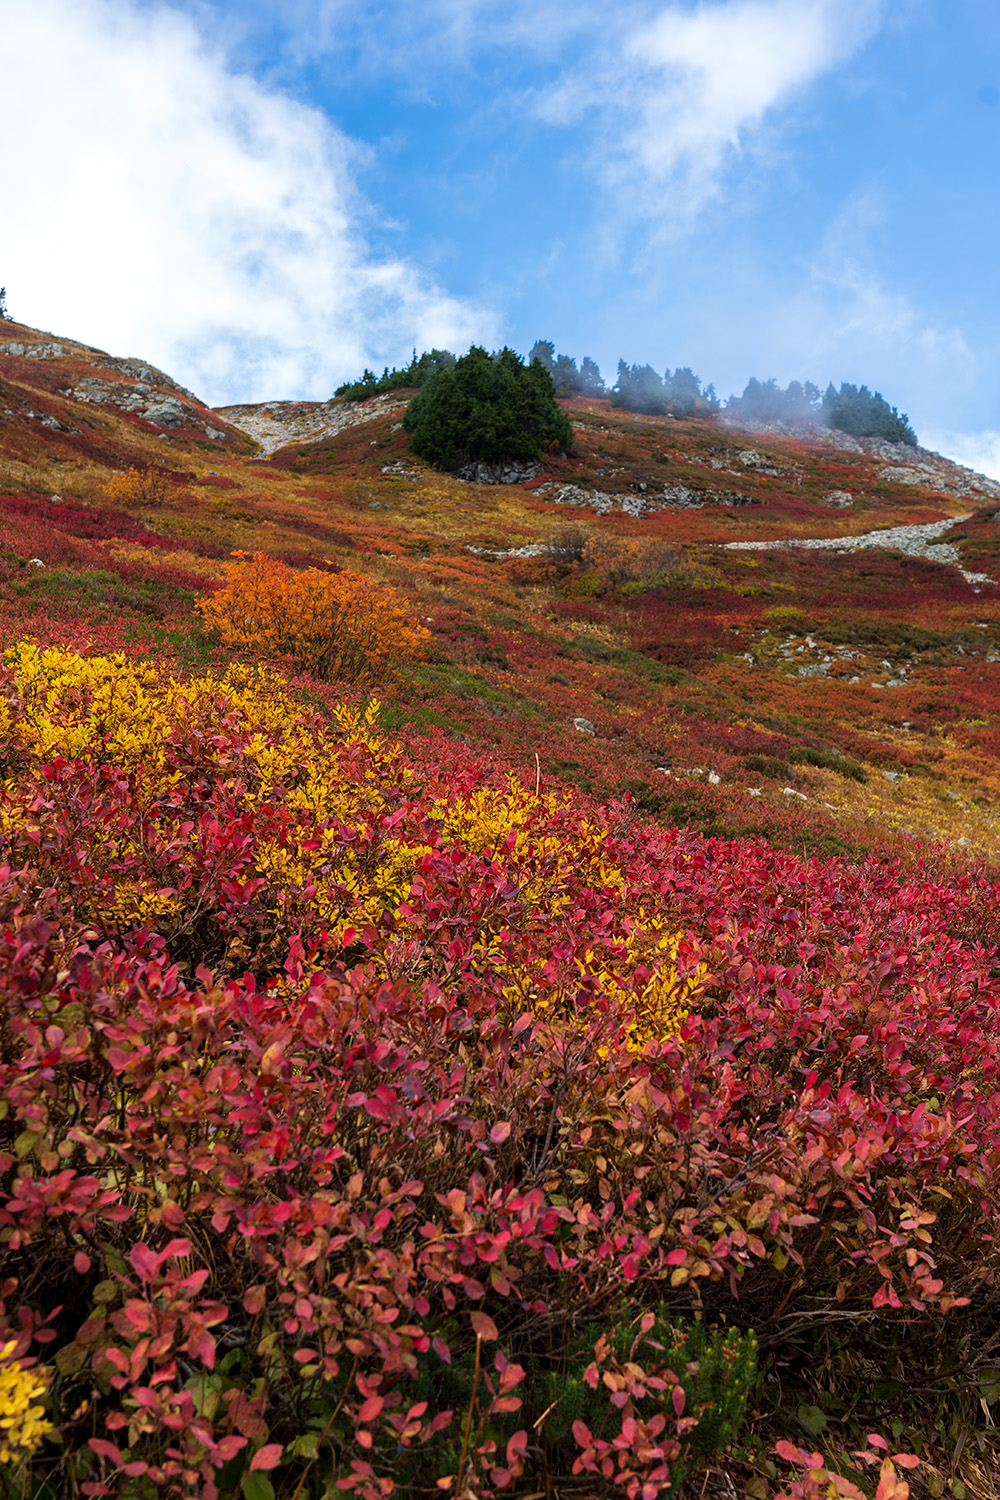
By October, the mountain blueberries and huckleberries have turned brilliant shades of red and orange, painting the slopes in vibrant fall hues. On my return trip through this berry-filled section, I had a brief but memorable encounter with a large black bear. It was raining, so I didn’t capture a photo, and the bear fled as soon as it noticed me—still, it was a thrilling moment that highlighted just how wild this place can be.
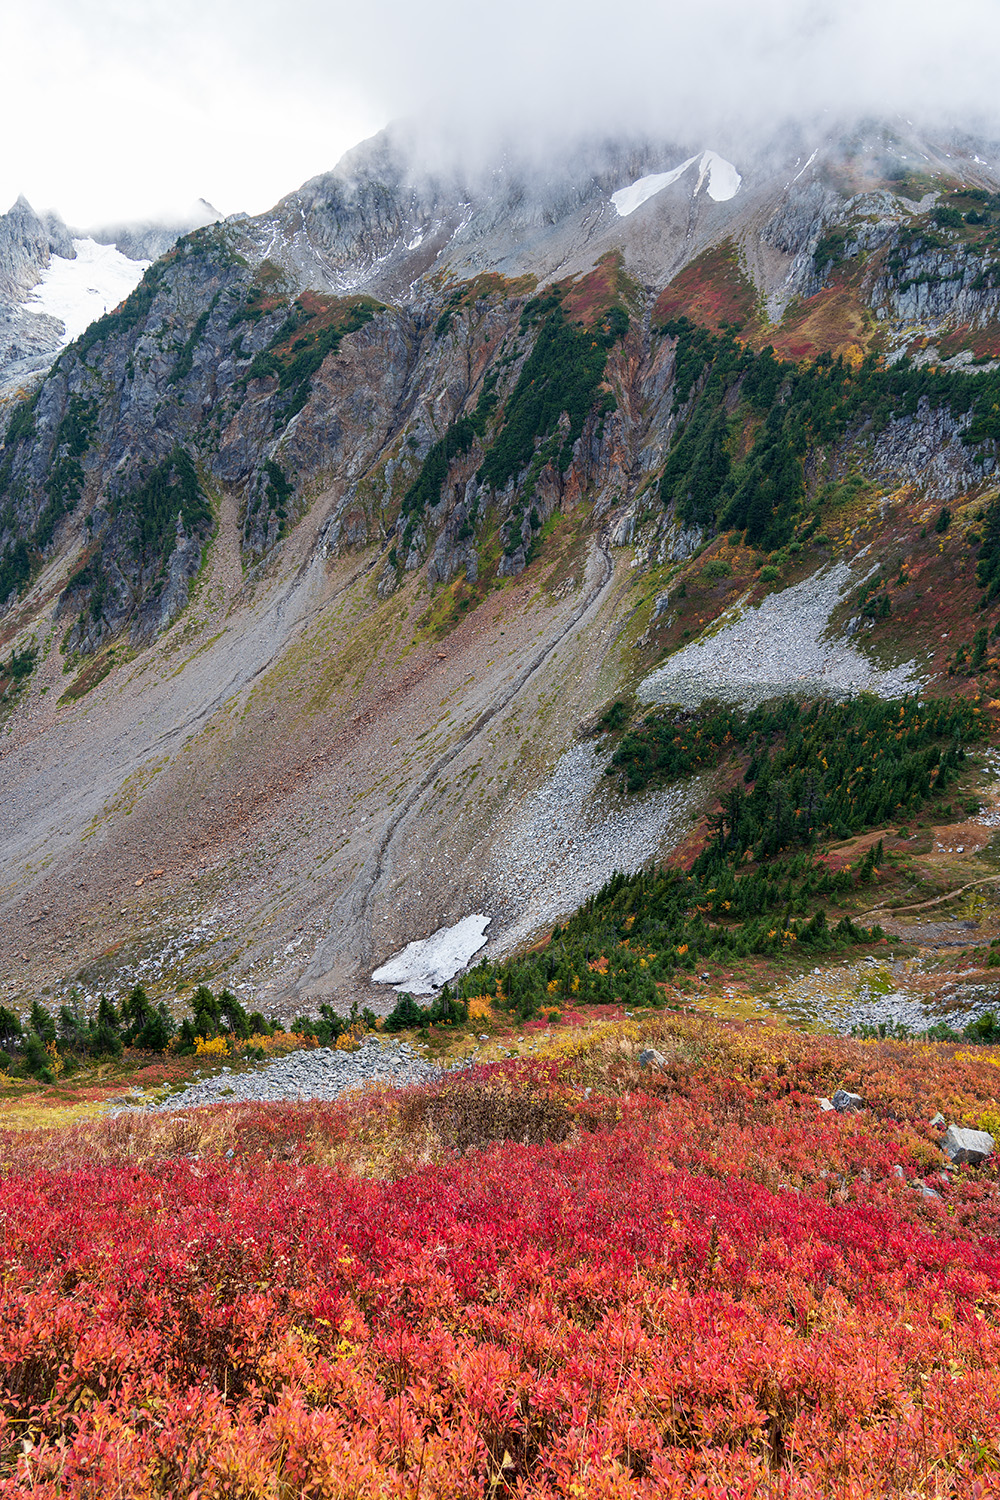
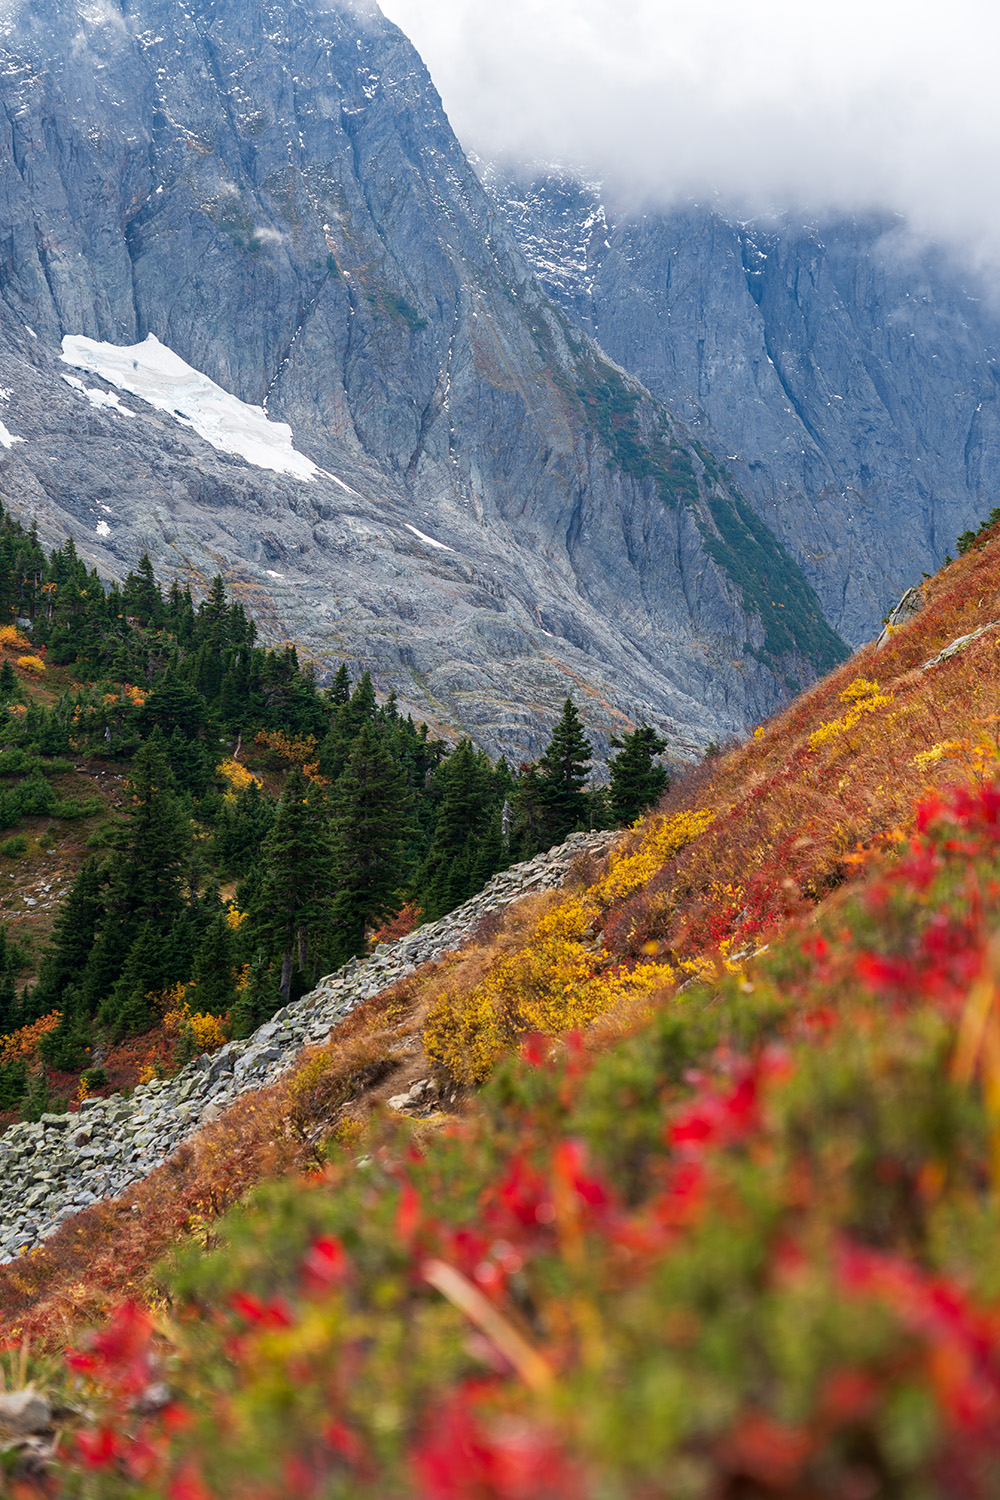
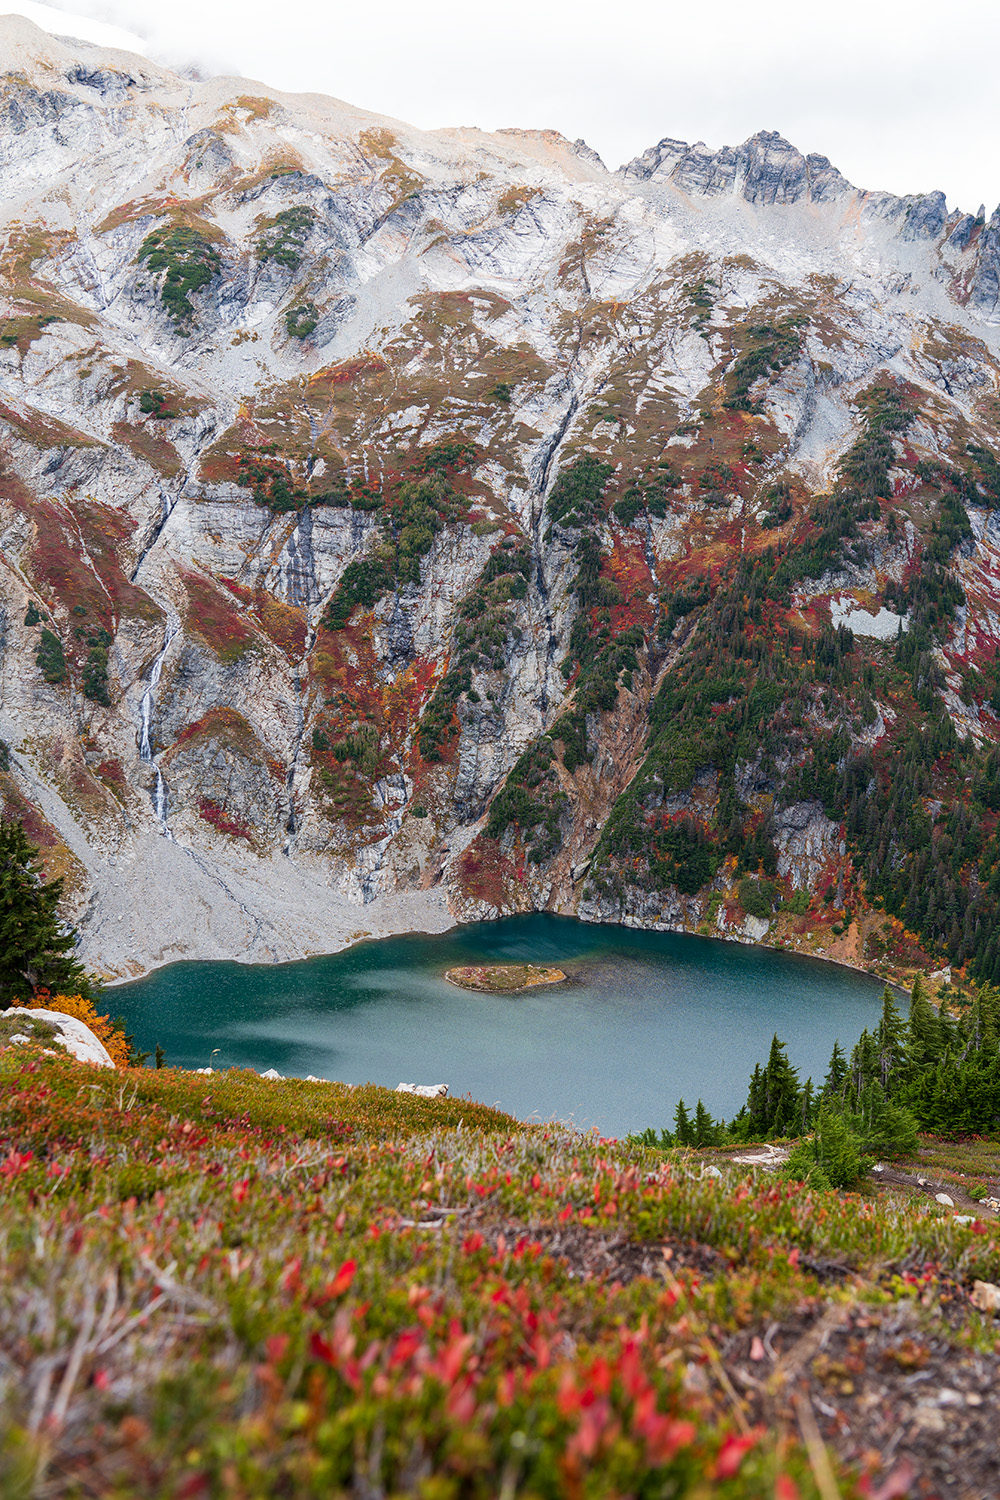
Before long, a Doubtful Lake comes into view on your right. From this vantage point, you’ll see Sahale Arm and the Sahale Glacier, along with a waterfall cascading into the lake below. Way in the distance you can see the vibrant yellows of larches scattered on mountain slopes.
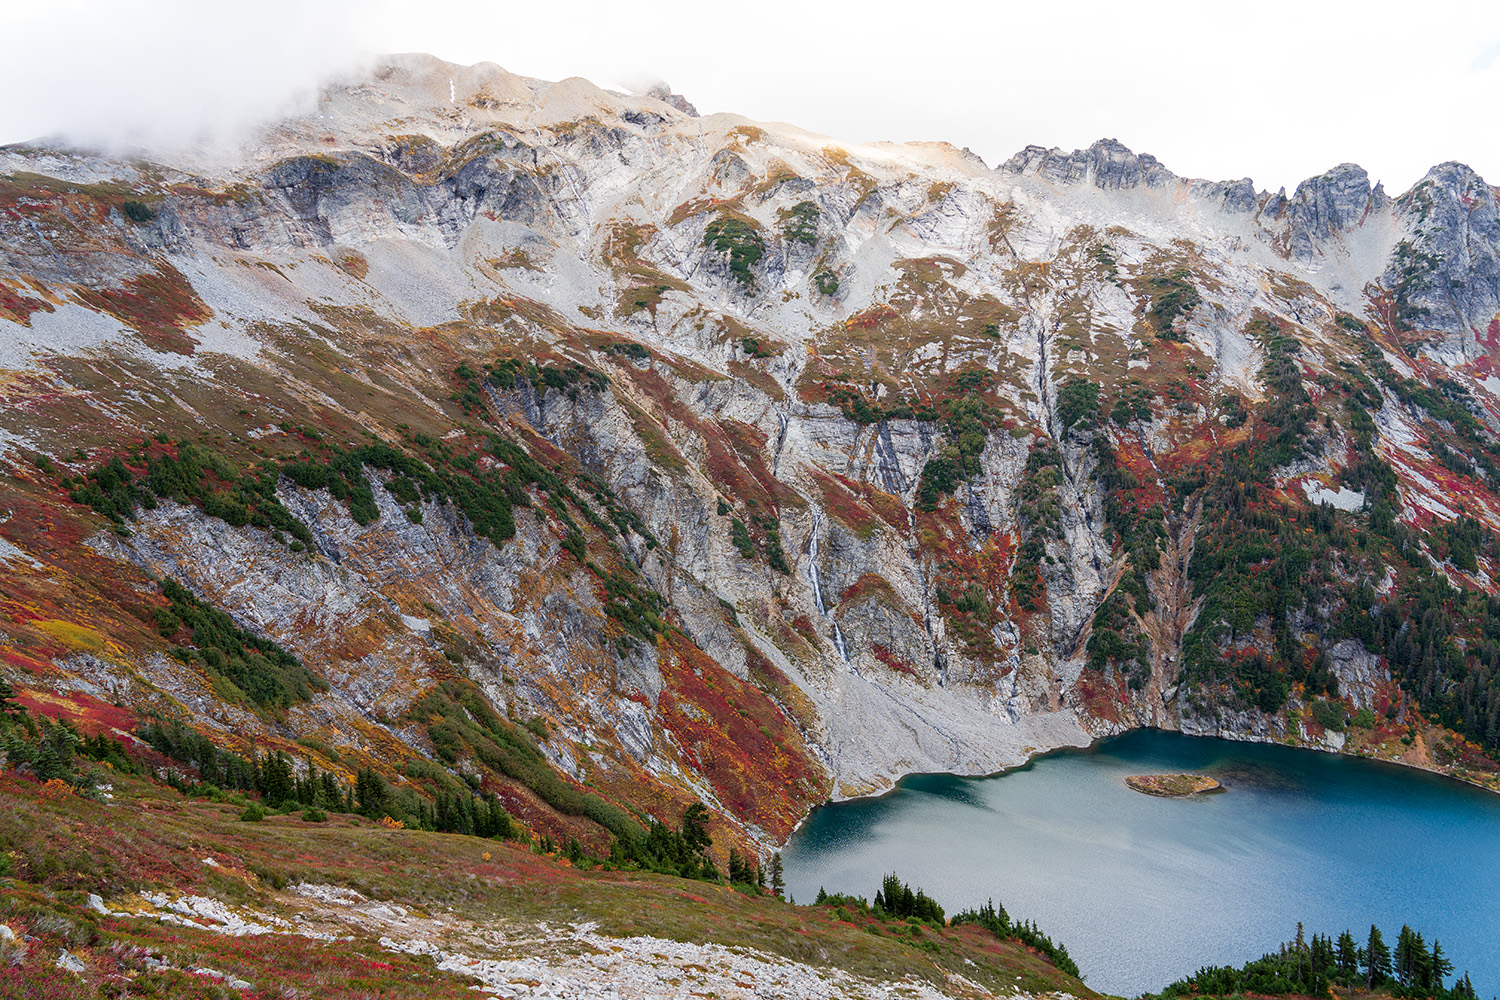
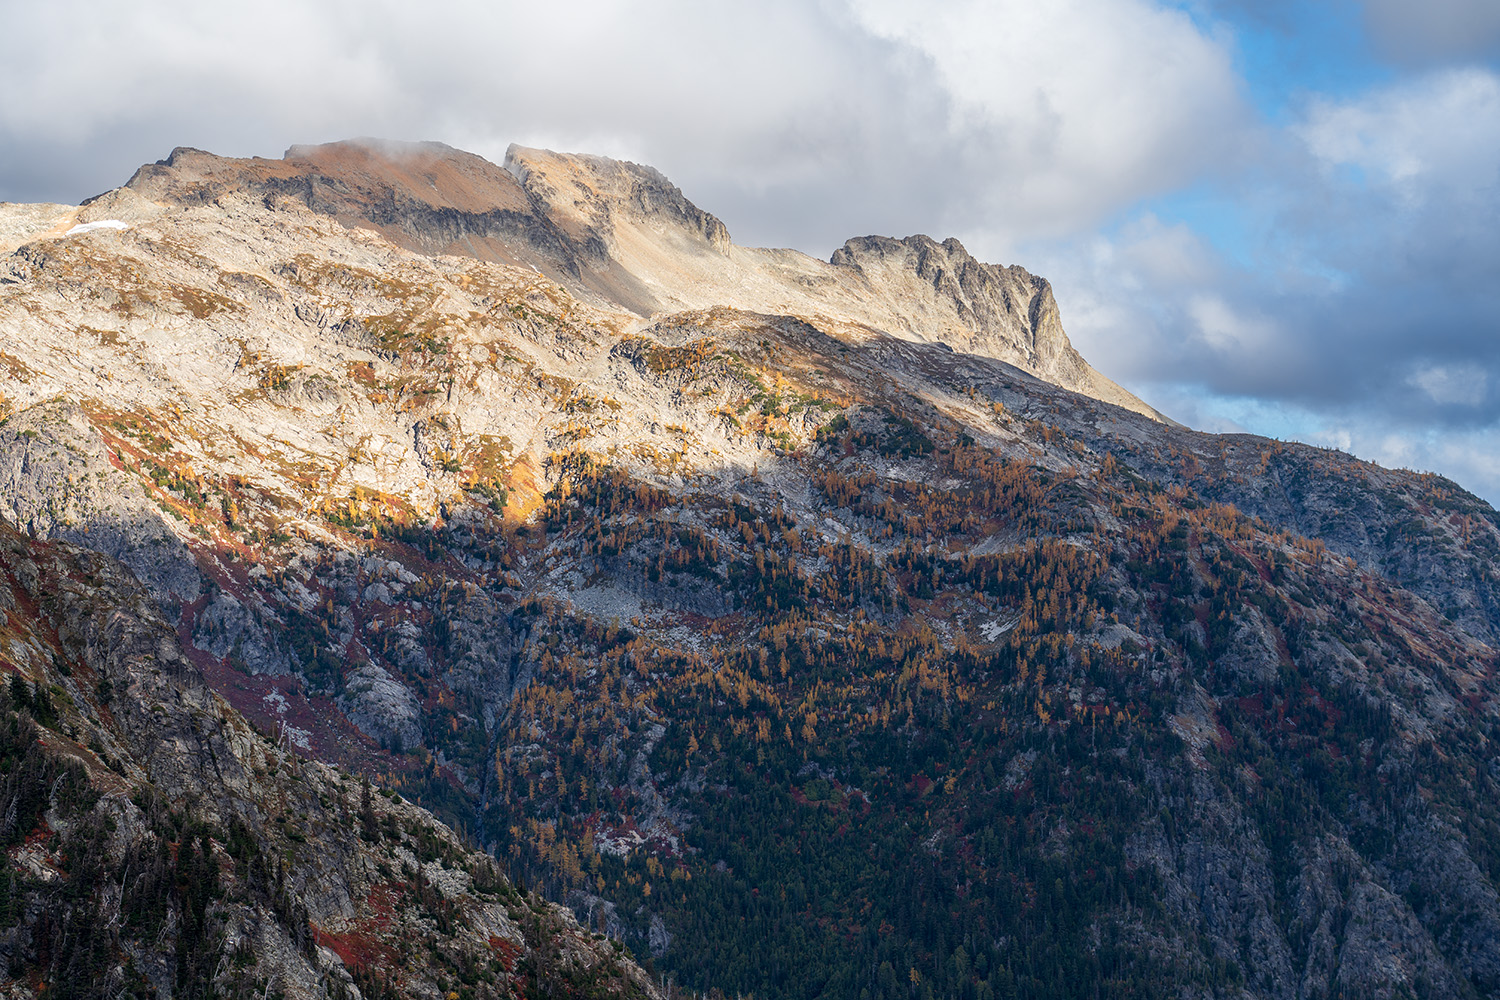
Remember to stay on the trail—this delicate alpine vegetation takes a long time to recover from any off-trail footsteps.
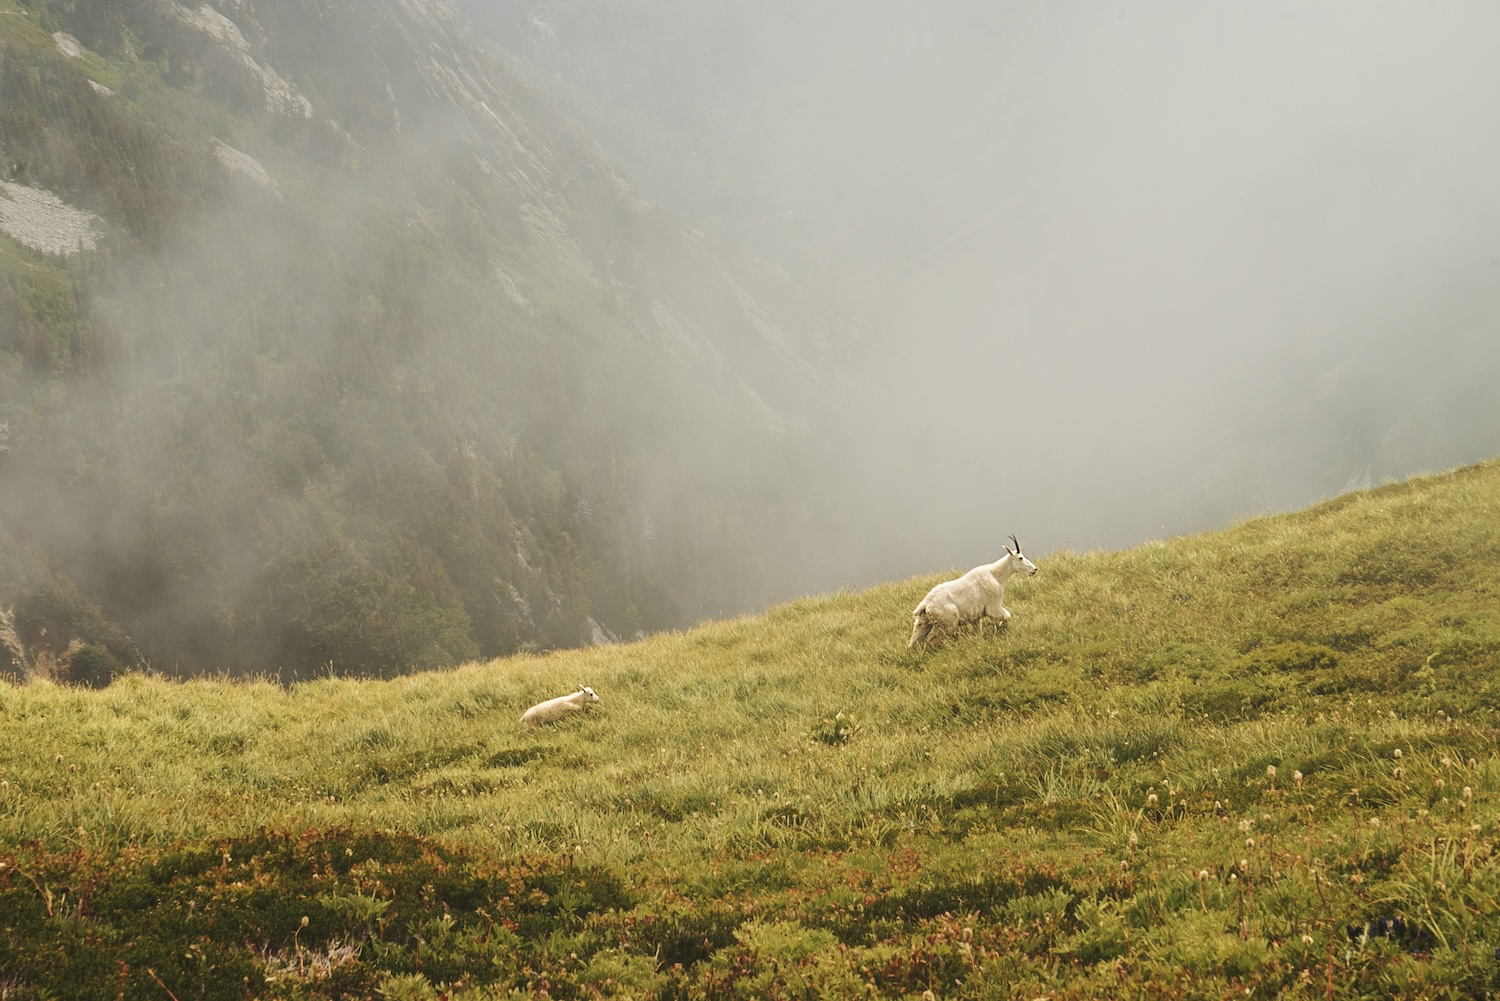
Continuing upward, you leave the forests behind and enter a world of alpine meadows and hardy grasses. Keep an eye out for mountain goats; they’re common on these high slopes. As I gained elevation, the wind picked up, bringing a noticeable chill. Layering up here is wise, as conditions can shift quickly.
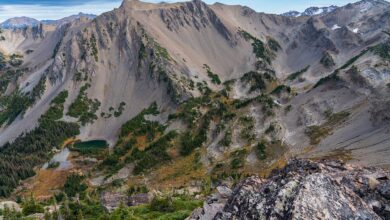
Eventually, the lush meadows give way to a section of loose Sahale rock that demands careful footing. Before tackling this rocky terrain, look for a stream flowing along the left side of the trail—a great spot to top up your water.
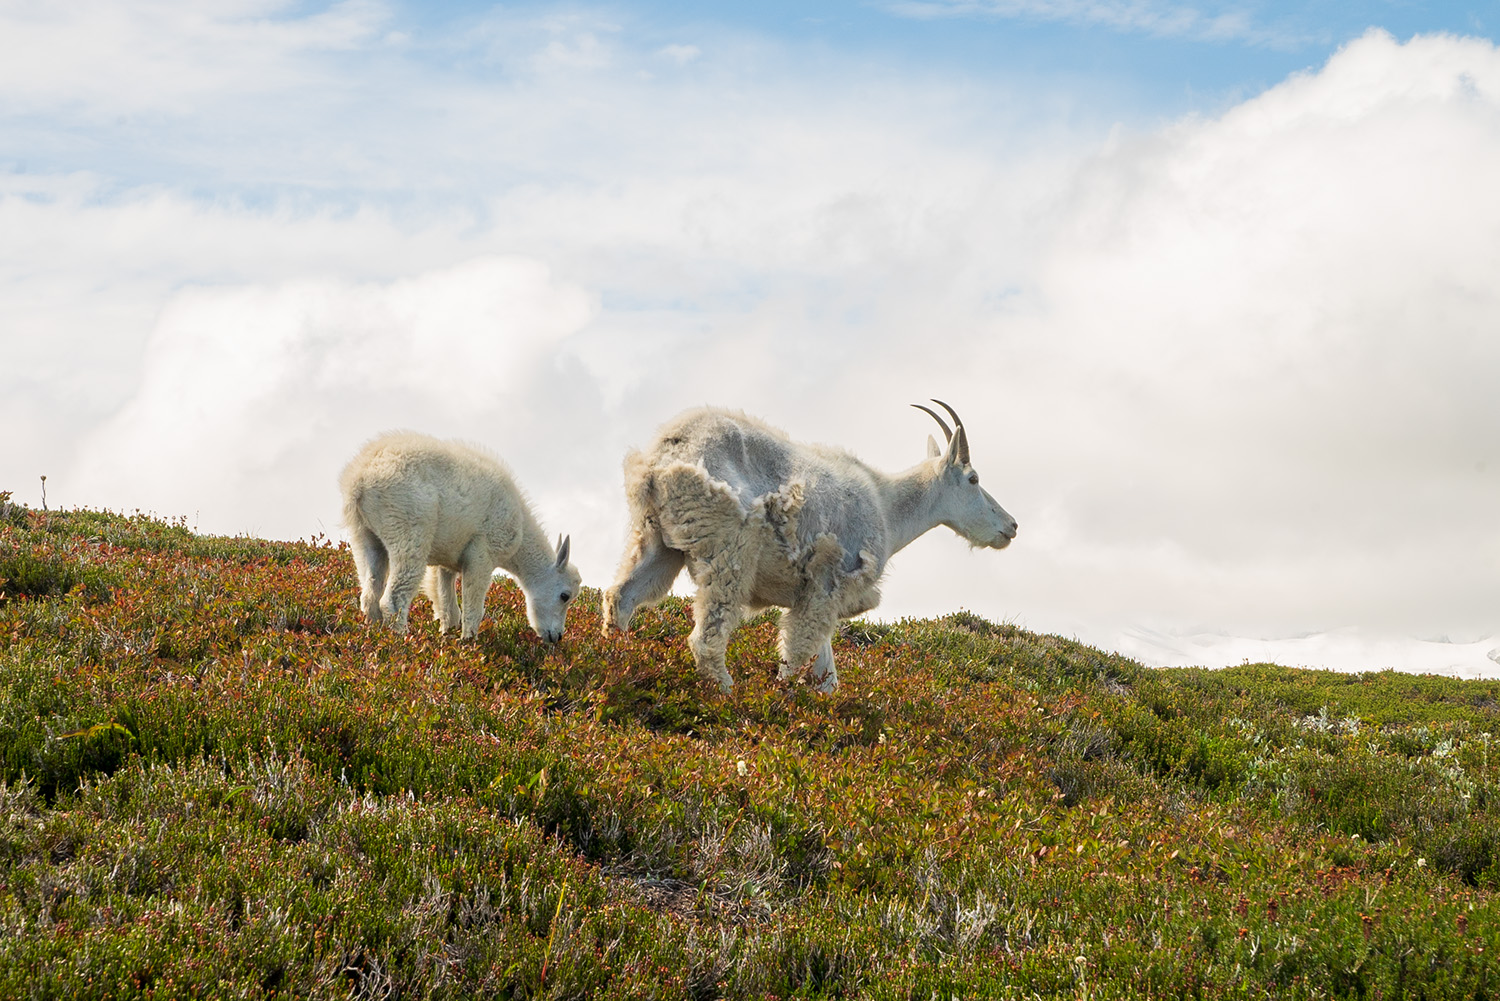
Before long, you’ll approach the final stretch leading to the campsites at Sahale Glacier Camp. As you climb higher, the views become even more spectacular—be sure to pause and glance back, as Doubtful Lake and the ridge you’ve just ascended make for an incredible sight.
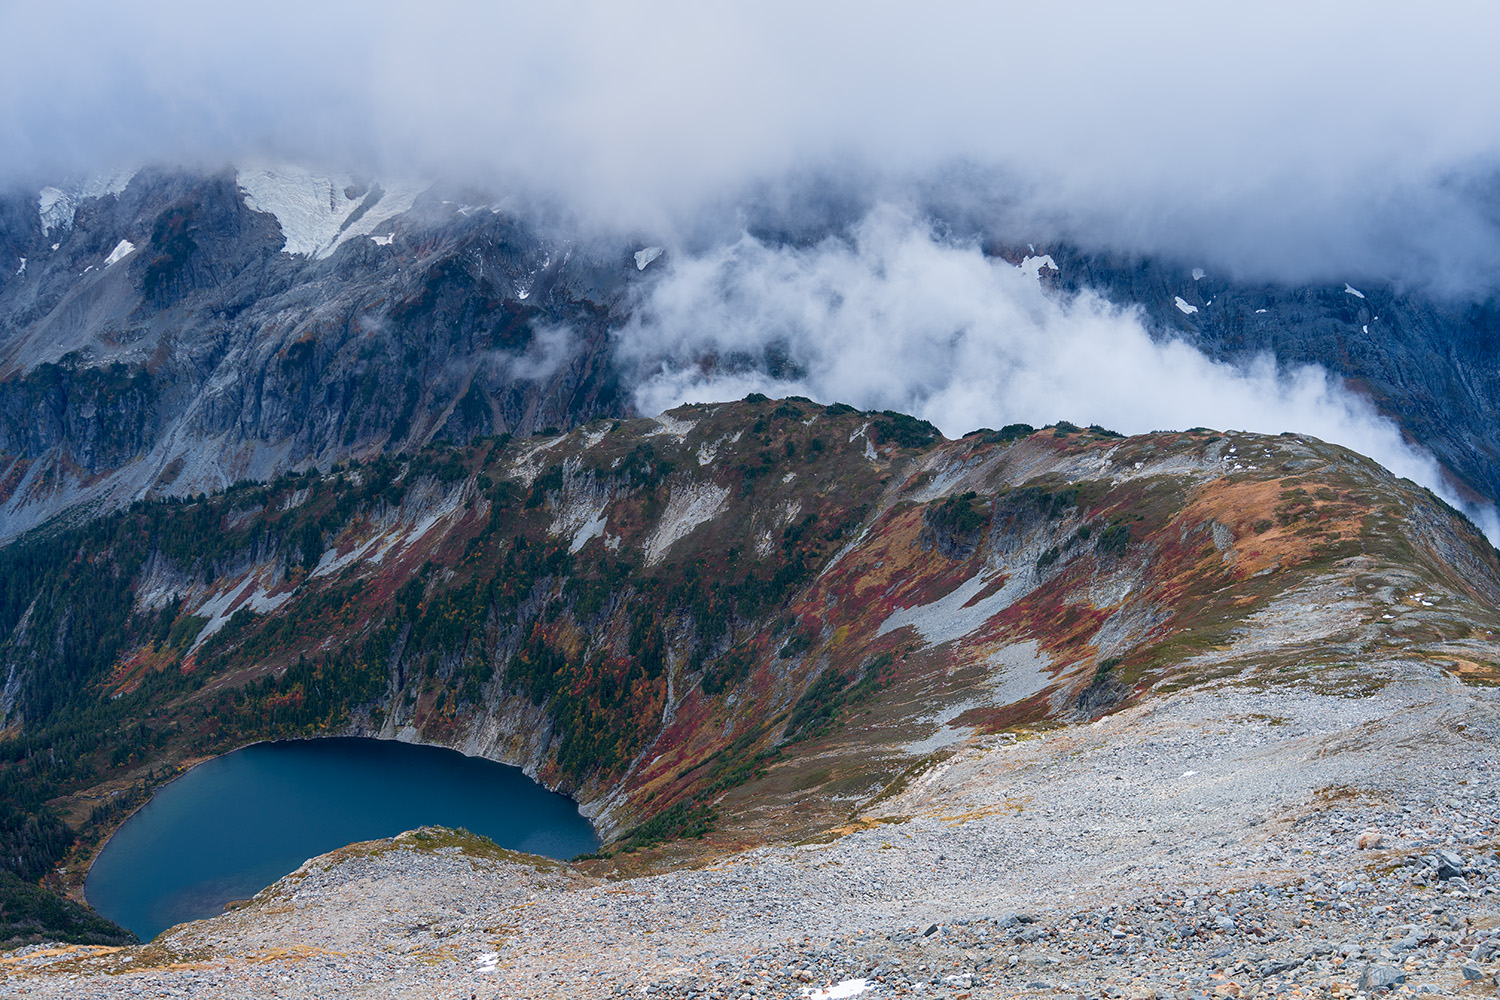
This last mile gains well over 1,000 feet of elevation as you navigate increasingly rocky terrain. Near the top, you’ll spot piles of rocks arranged as windbreaks around tent pads. Congratulations—you’ve reached the highest established campsite in the North Cascades at 7,600 feet.
Sahale Glacier Camp – What to Expect?
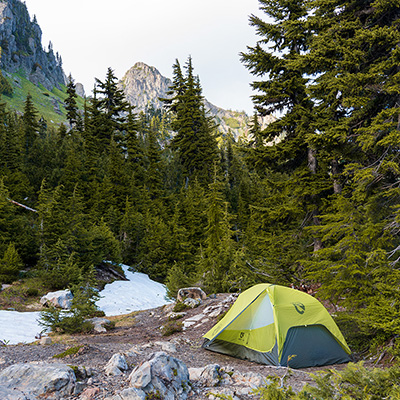
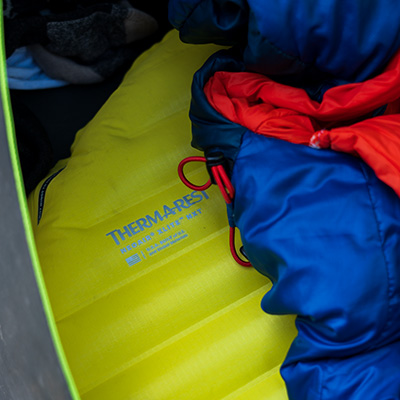
Sahale Glacier Camp sits just below the Sahale Glacier, offering a true alpine experience. Multiple established sites are marked by stacked rock walls designed to buffer the relentless wind. Still, gusts can be strong, so come prepared with extra cord to tie off your tent’s guy lines to rocks, ensuring a taut and secure pitch. I wouldn’t even bother bringing tent stakes—they just won’t work up here.
Subscribe to hikewithkurt.com
Get notified when I post new detailed hiking guides and join me on upcoming hikes.

Get notified when I post new detailed hiking guides and join me on upcoming hikes.
A short walk from the campsites, you’ll find a solar-powered composting toilet. The National Park Service requests that you not pee inside the toilet; instead, use the surrounding rocks. Mountain goats are known to wander in, drawn by the minerals in the urine—so you might have some unexpected visitors!
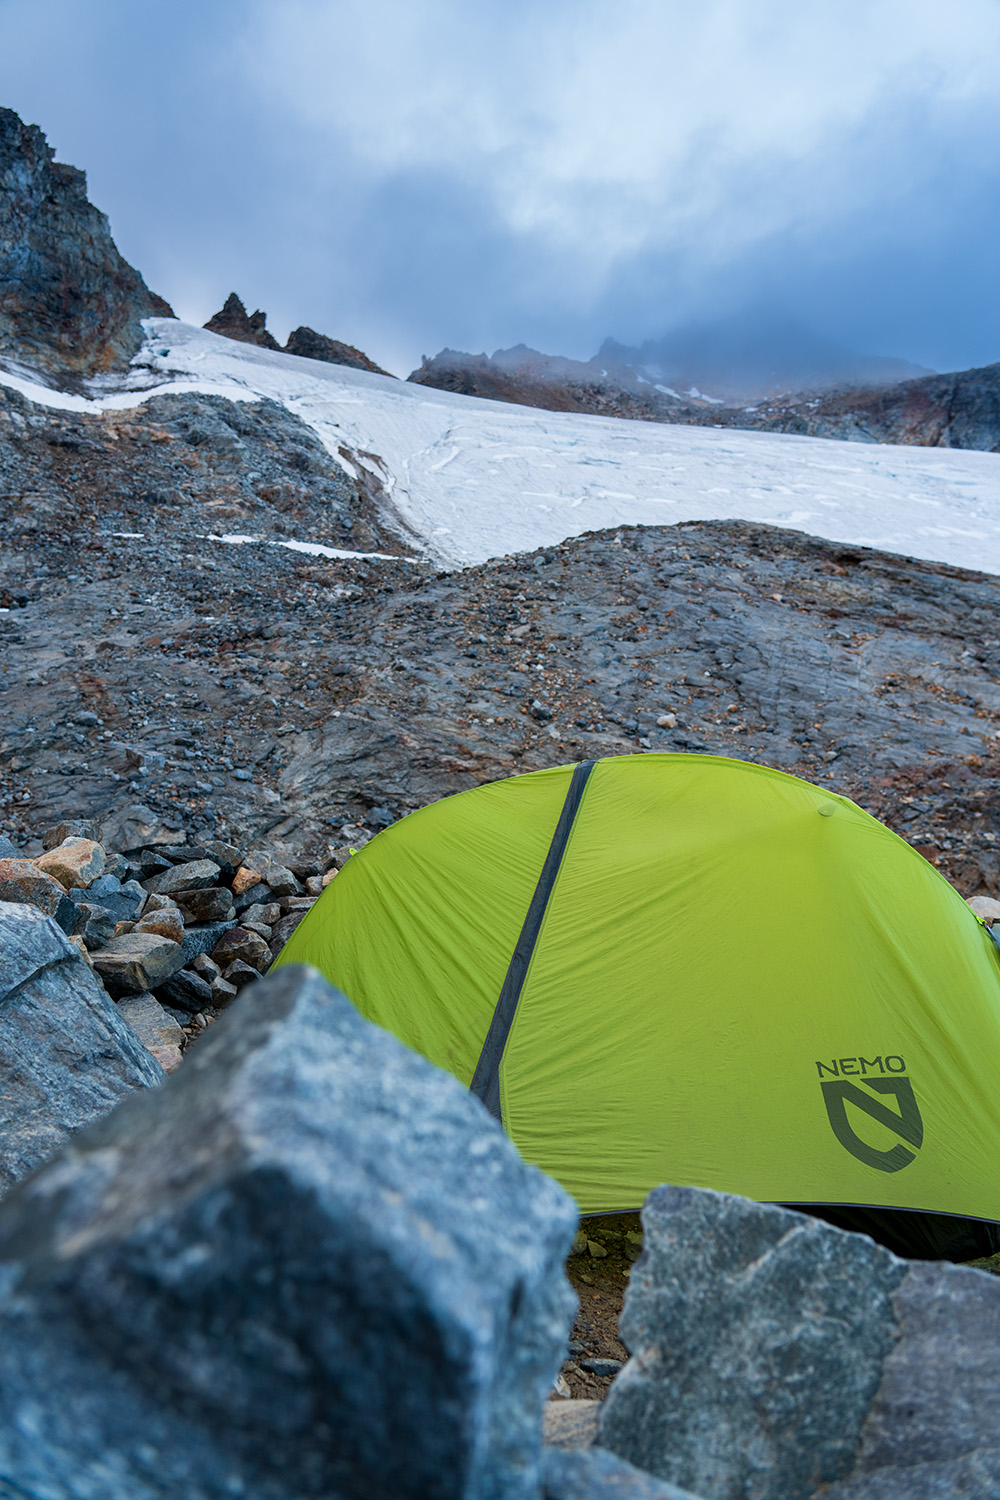
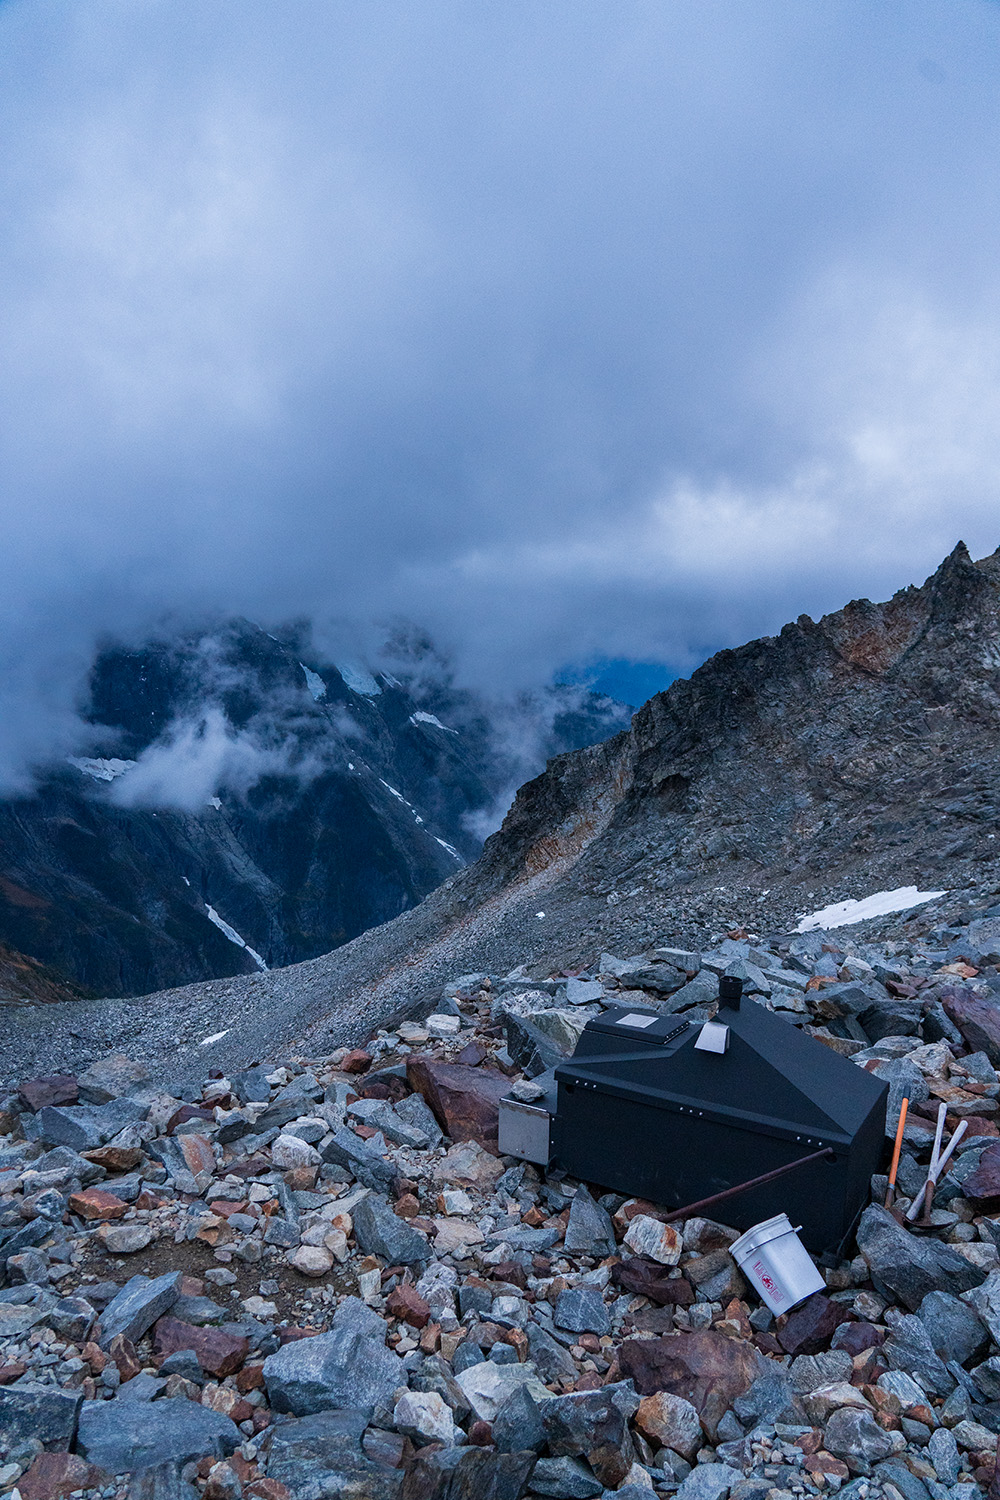
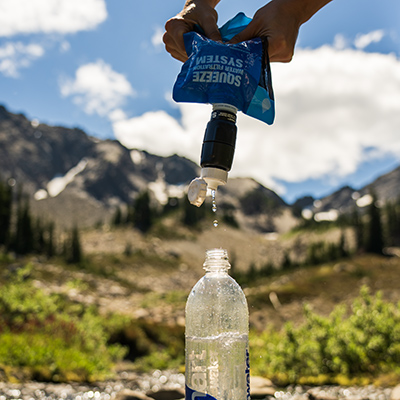
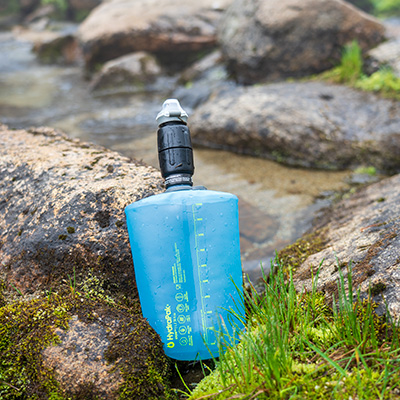
For water, glacier runoff streams are readily available nearby, though you’ll need to filter your water before drinking.
Bear canisters are required. When picking up your permit, the ranger will make sure you have a bear canister with you!
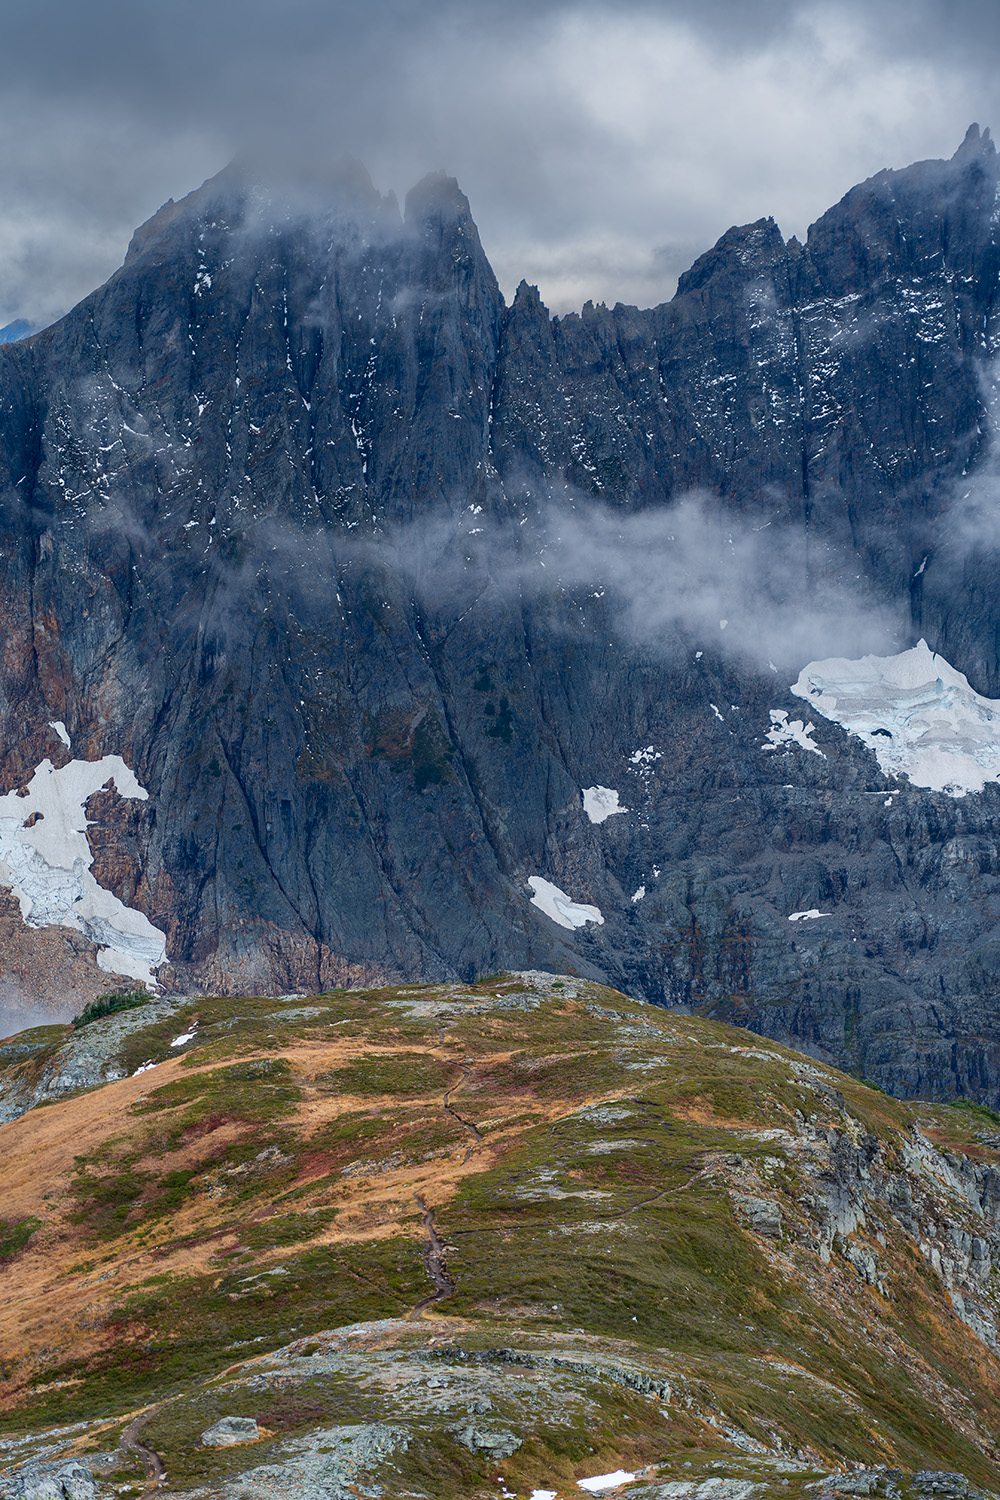
The views from Sahale Glacier Camp are among the most striking in the entire North Cascades. Layer upon layer of steep, glacier-capped granite peaks extend to the horizon, creating a scene so grand it’s hard to put into words. Doubtful Lake shimmers far below, backed by rugged mountains that stretch endlessly into the distance. The Triplets, with their near-vertical cliffs, stand out as some of the most awe-inspiring formations you’ll encounter.
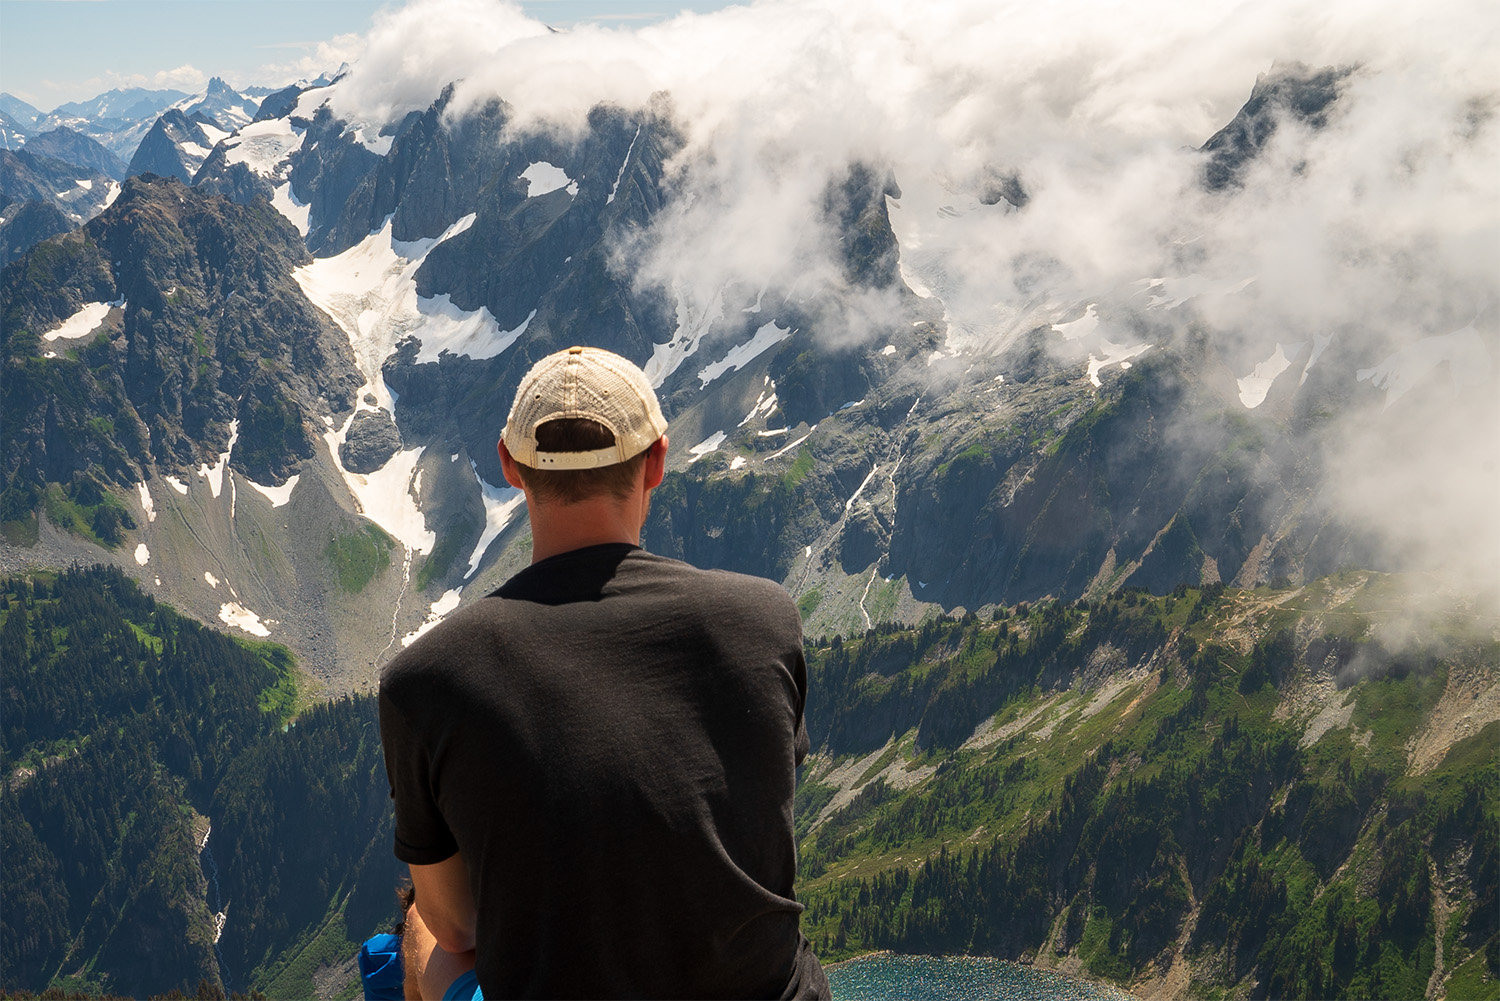

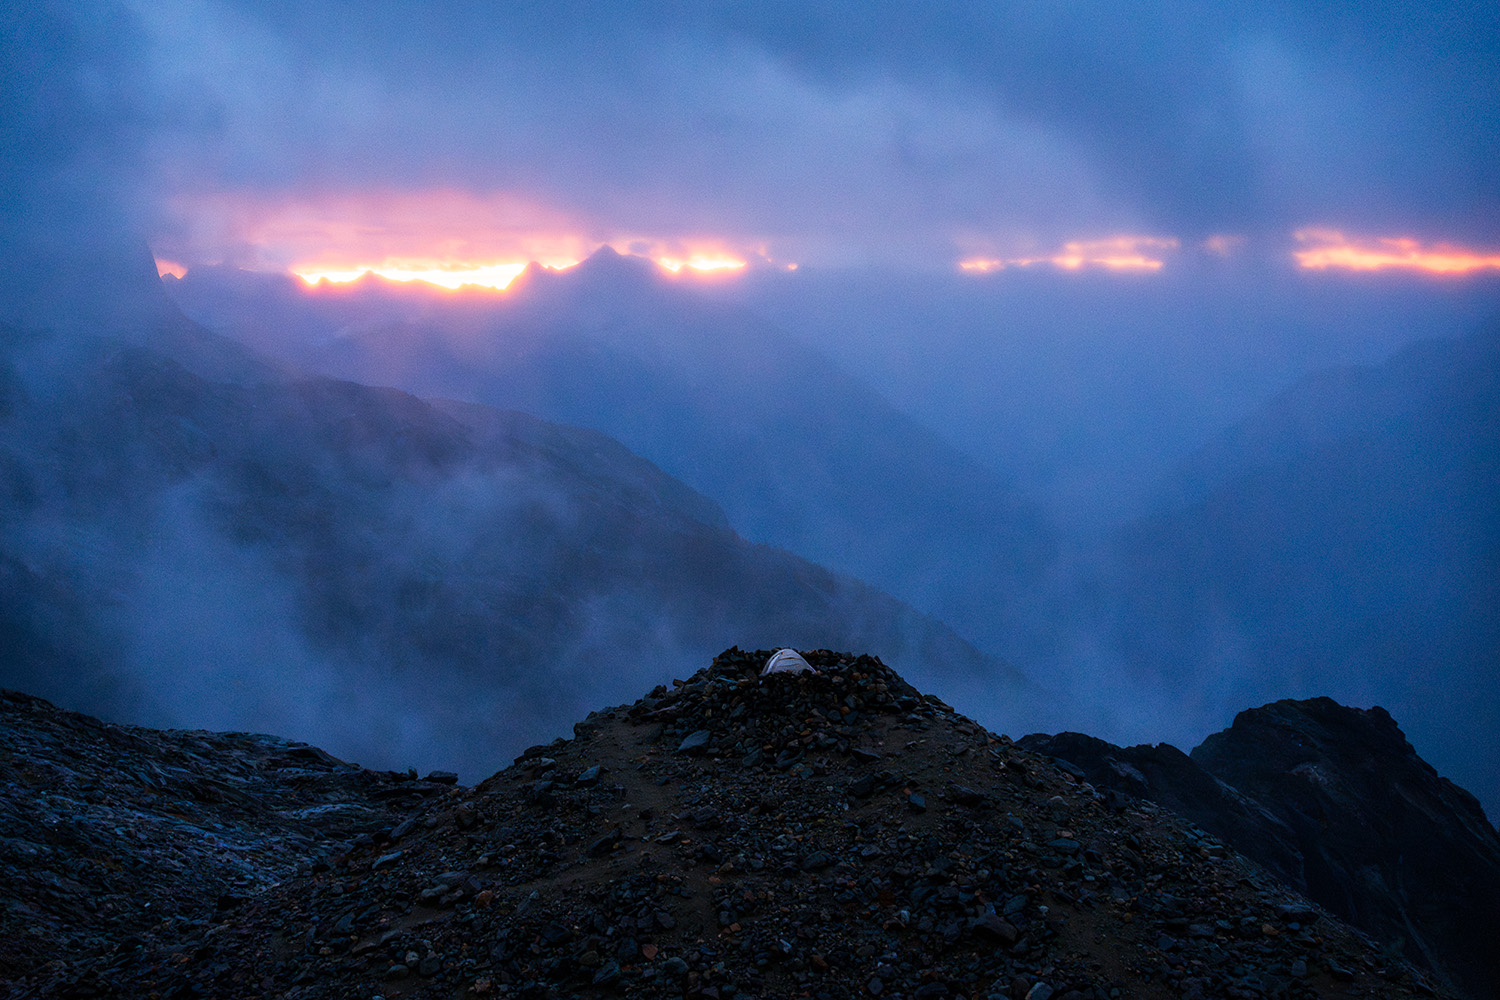
Simply put, the immense beauty of this place defies description. Once you’ve taken it all in, you may never want to leave.
Water Sources Along the Trail
Water sources are limited along the trail, so plan ahead. The switchbacks have none, and the ridge offers only a few small trickling streams. The next reliable source is just before the boulder section leading to the summit, with glacier runoff available at Sahale Glacier Camp.
Tip: Top off your water supply whenever you find a stream, and always bring a water filter!
Wildlife Along the Trail
One of the highlights of this trail is the abundant wildlife you’ll encounter. Mountain goats are a frequent sight, often spotted grazing on the slopes or wandering near Sahale Glacier Camp. In the boulder fields, listen for the distinctive squeaks of pikas darting between rocks, and keep an eye out for marmots sunbathing in the meadows.
In the fall, black bears may also make an appearance, foraging for berries along the trail. I had the unforgettable experience of spotting one during my hike.
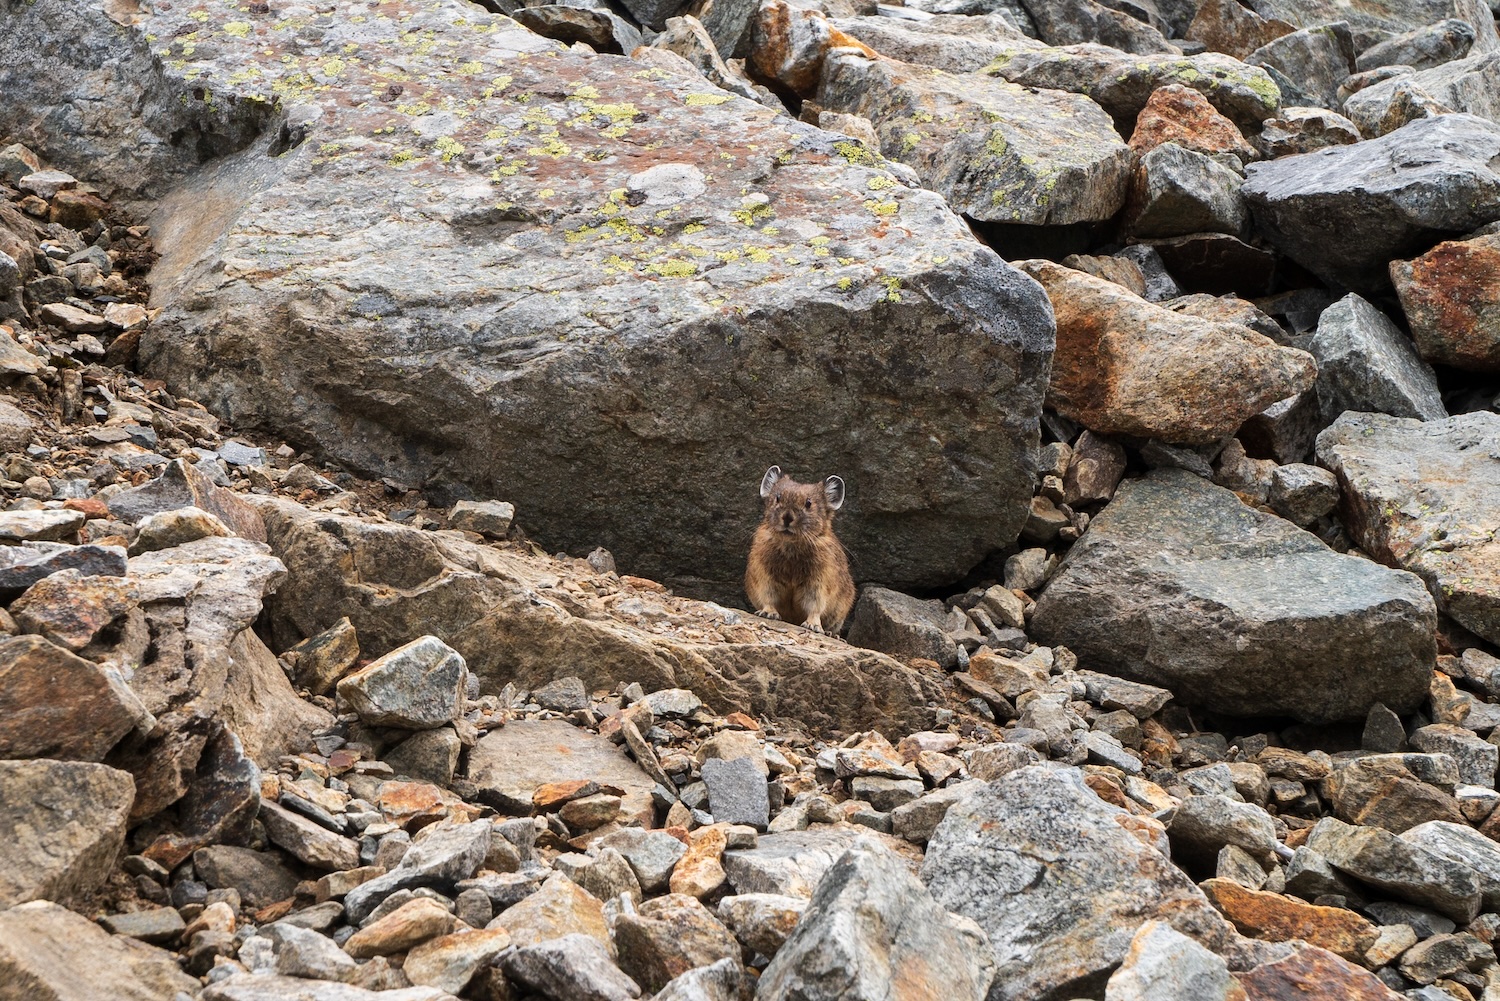
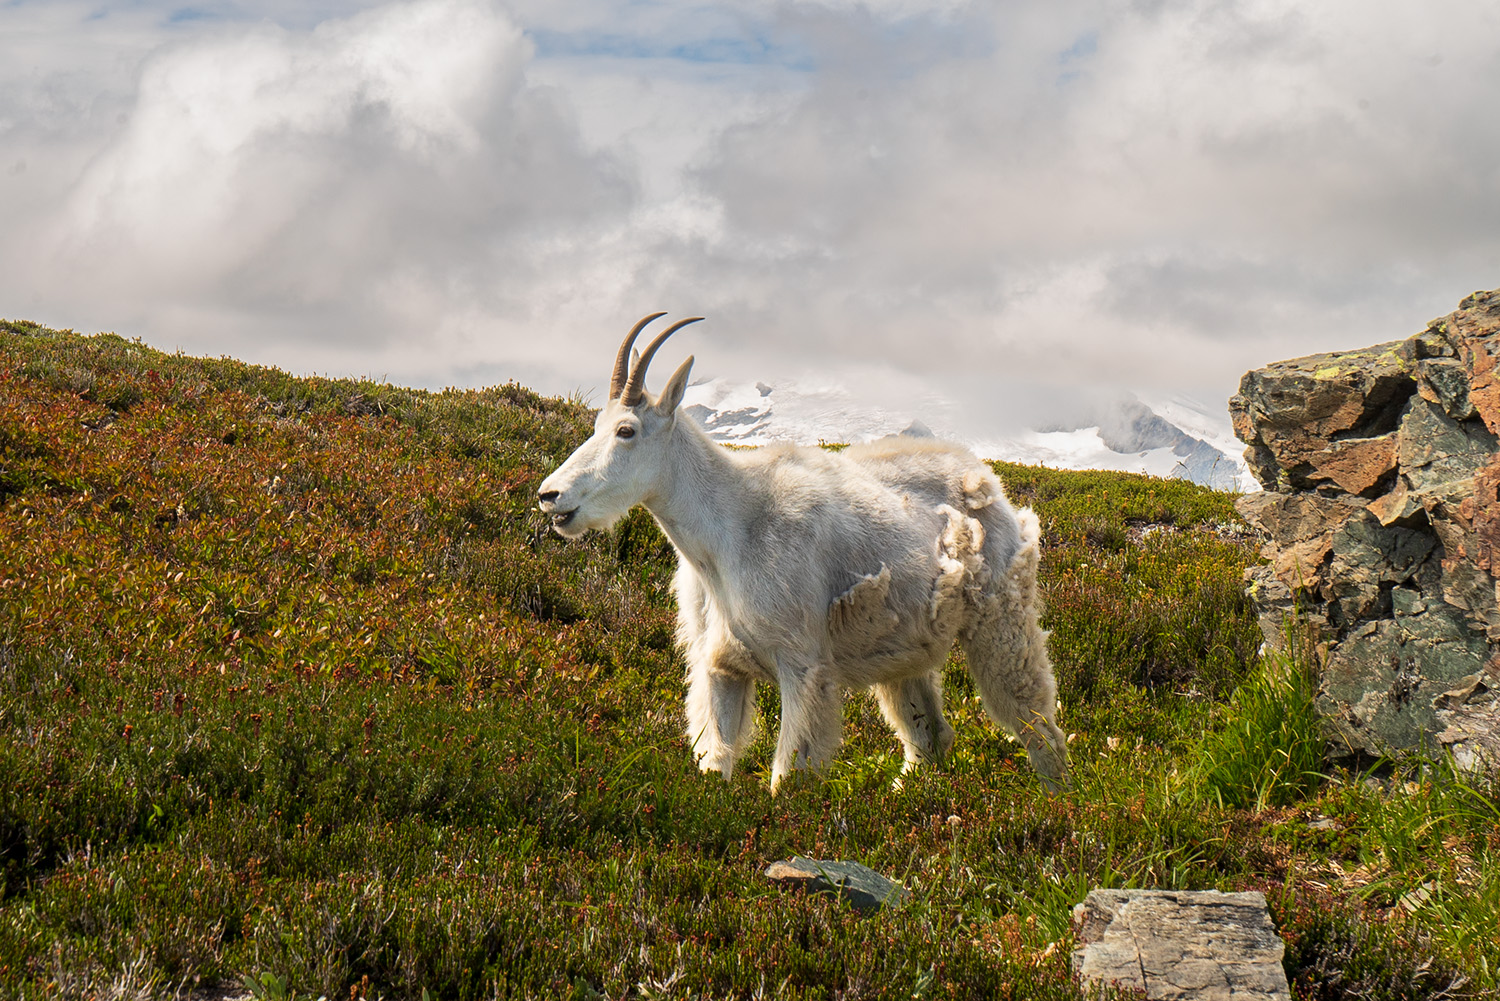
This trail is teeming with wildlife, so come prepared to share the space with these incredible creatures. Always observe from a distance, respect their habitats, and follow Leave No Trace principles to help protect this unique ecosystem.
Cell Service Along the Cascade Pass & Sahale Arm Trail
There is no cell service on this trail—not even at Sahale Glacier Camp, despite its higher elevation. While you might assume that being higher up improves your chances of getting a signal, the surrounding peaks and lack of line of sight to cell towers make coverage unlikely.
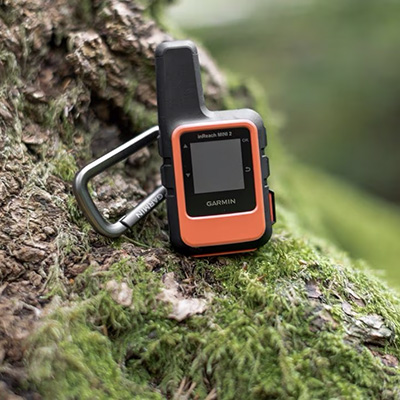
If you need a way to communicate with friends, family, or in case of an emergency, I highly recommend bringing a satellite communication device like the Garmin InReach. It’s a reliable option for sending messages or calling for help when you’re deep in the backcountry.

Are Dogs Allowed?
No, dogs are not allowed on this trail. Since it’s located within a National Park, pets are prohibited to help preserve the natural environment and protect wildlife.
Tips for Backpacking to Sahale Glacier Camp
Here are some key tips to help you make the most of this incredible trail:
- Enter the Early-Access Lottery: This is your best chance to secure a permit for Sahale Glacier Camp. If you don’t succeed, try again during the general access release or arrive early for a walk-up permit.
- Avoid Weekends: Camp on a weekday to escape the crowds and enjoy a quieter experience.
- Watch the Weather: If the forecast calls for heavy rain or poor visibility, consider rescheduling—bad weather will obscure the views and make for a miserable trip.
- Plan for a Slower Pace: You’ll want to stop often to soak in the scenery and take photos, so expect the hike to take longer than usual.
- Skip the Tent Stakes: Rocks dominate the terrain, making stakes useless. Bring extra cord to secure your tent with rocks instead.
- Prepare for Cold and Wind: Conditions can change rapidly at high elevation, and temperatures can be 20°F cooler than the surrounding areas. Bring layers, rain gear, and earplugs to drown out the wind at night.
- Top Off Water When You Can: Water sources are limited, so refill whenever you come across a stream and bring a filter.
- Choose Your Season: If you want to see mountain goats, opt for summer. For a chance to see bears foraging for berries, head out in the fall.
My Experience at Sahale Glacier Camp Was Unforgettable
Hiking to Sahale Glacier Camp during peak fall colors was nothing short of amazing. Even though the weather wasn’t ideal, there were moments when the clouds parted to reveal breathtaking landscapes—vibrant slopes, distant glaciers, and jagged peaks. The highlight of the trail was spotting a black bear foraging for berries—it was a cool experience!
Camping near the glacier was an adventure in itself. Despite being pounded by rain and sleet all night and descending the trail in the cold rain the next morning, the experience was unforgettable. Knowing how hard it is to secure a permit, I felt incredibly grateful to have the opportunity to be out there.
This hike is one I’ll return to—because Sahale Glacier Camp is a place that stays with you, even after you’ve left.

